At A Glance:
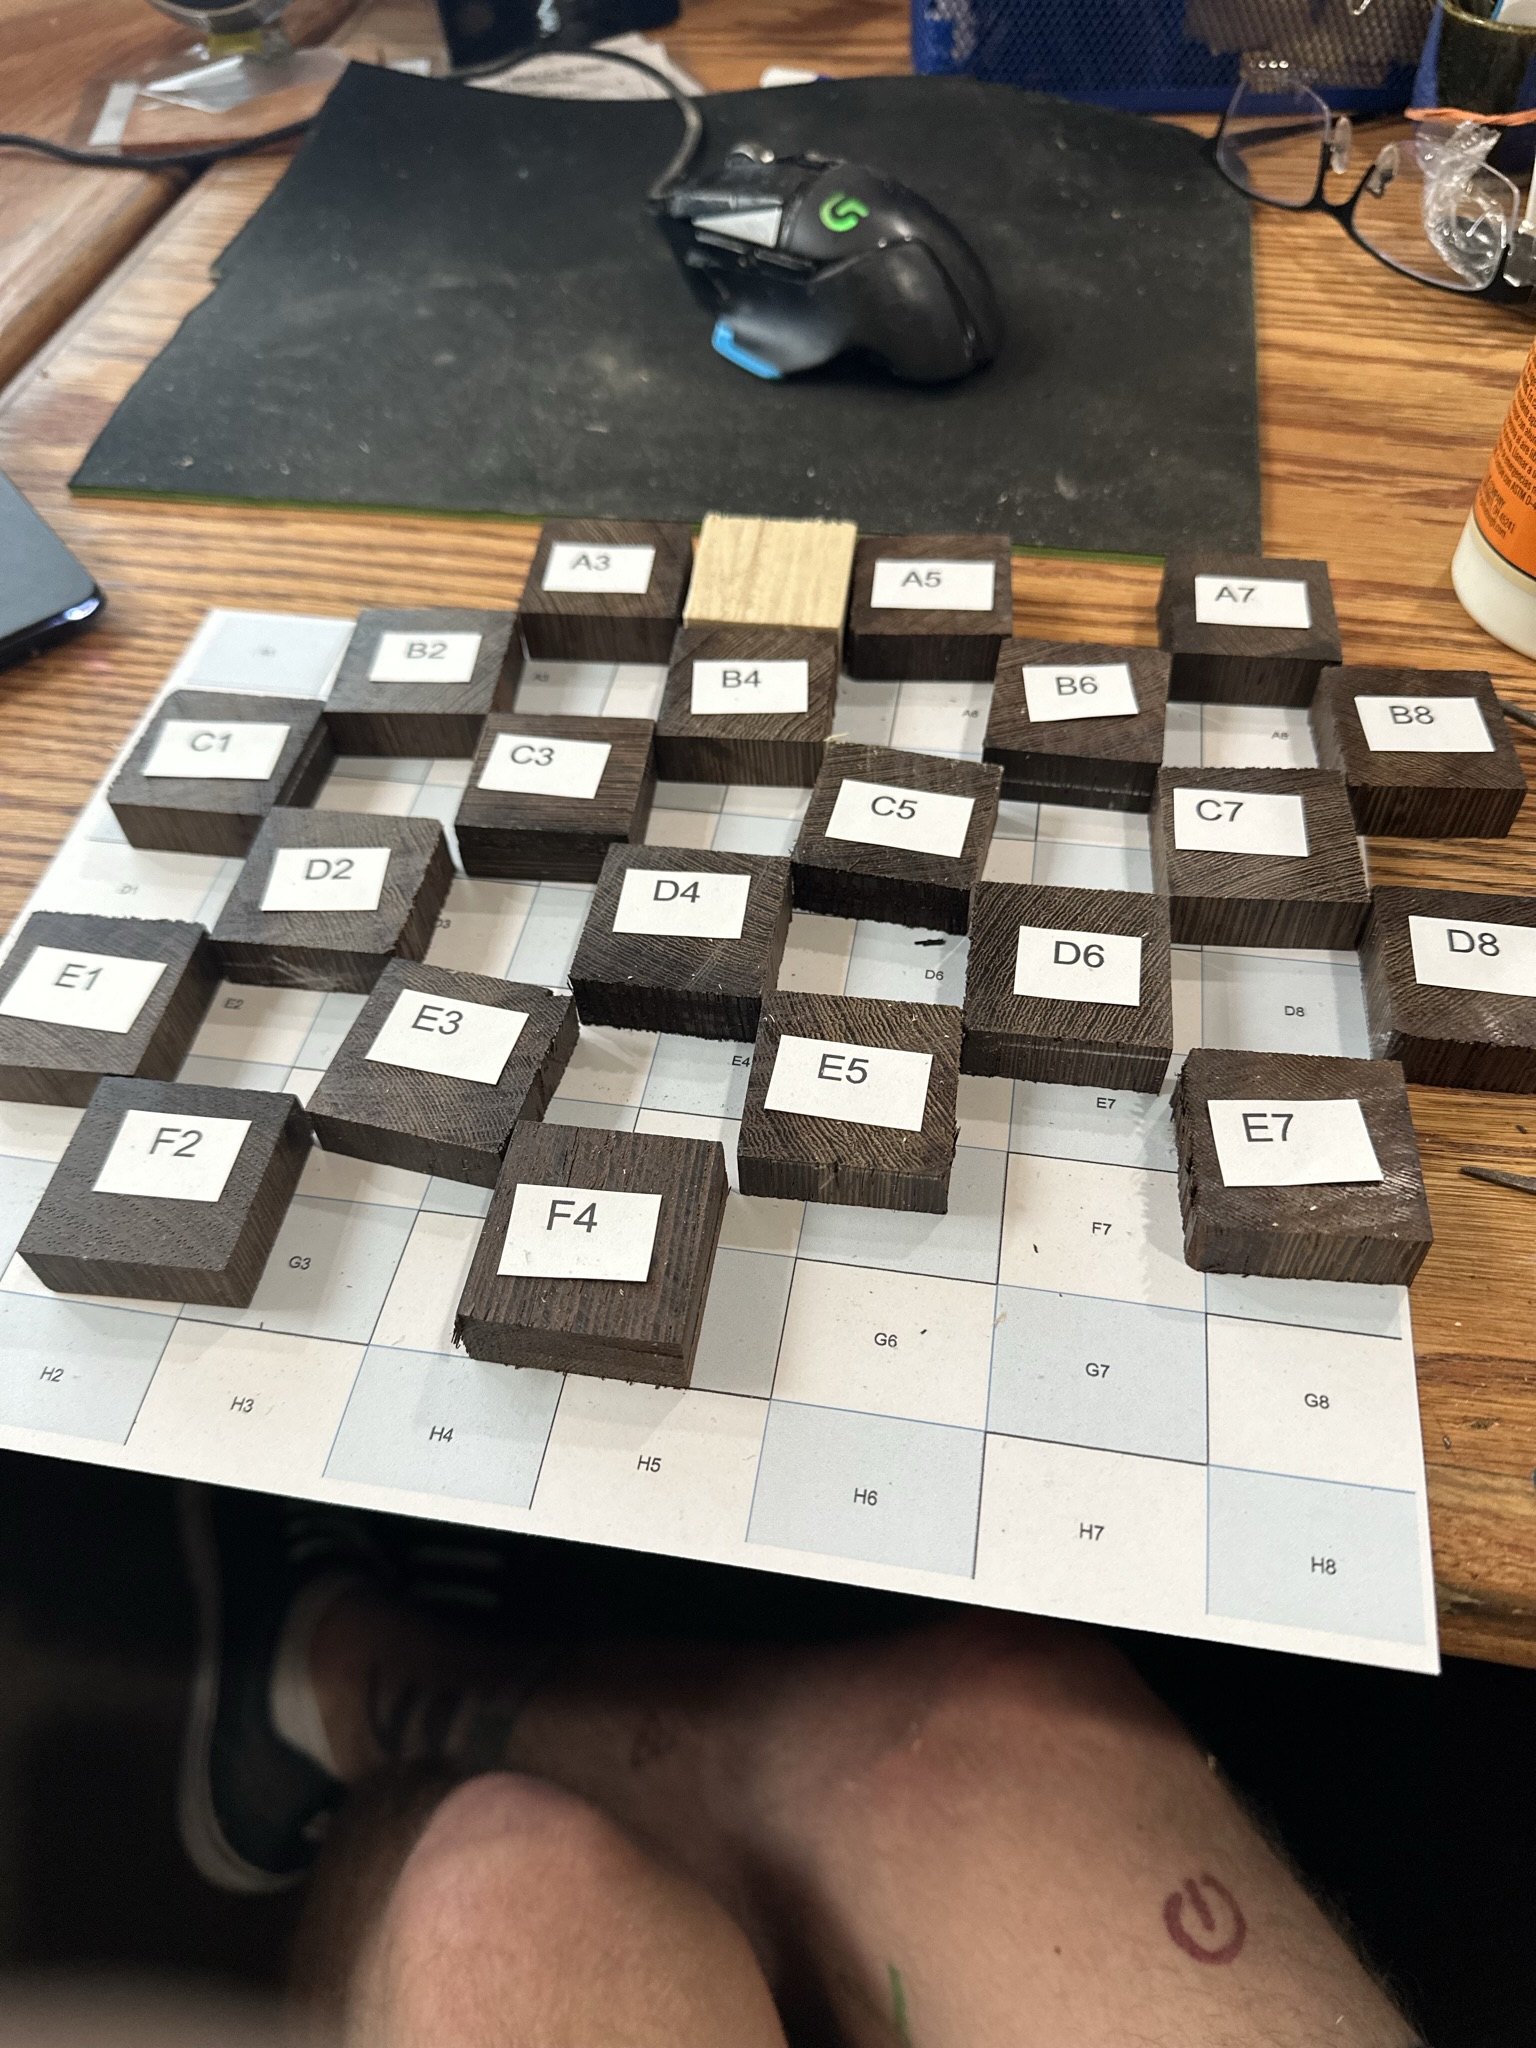
- Board is coming together, waiting on more wenge to start pinning.
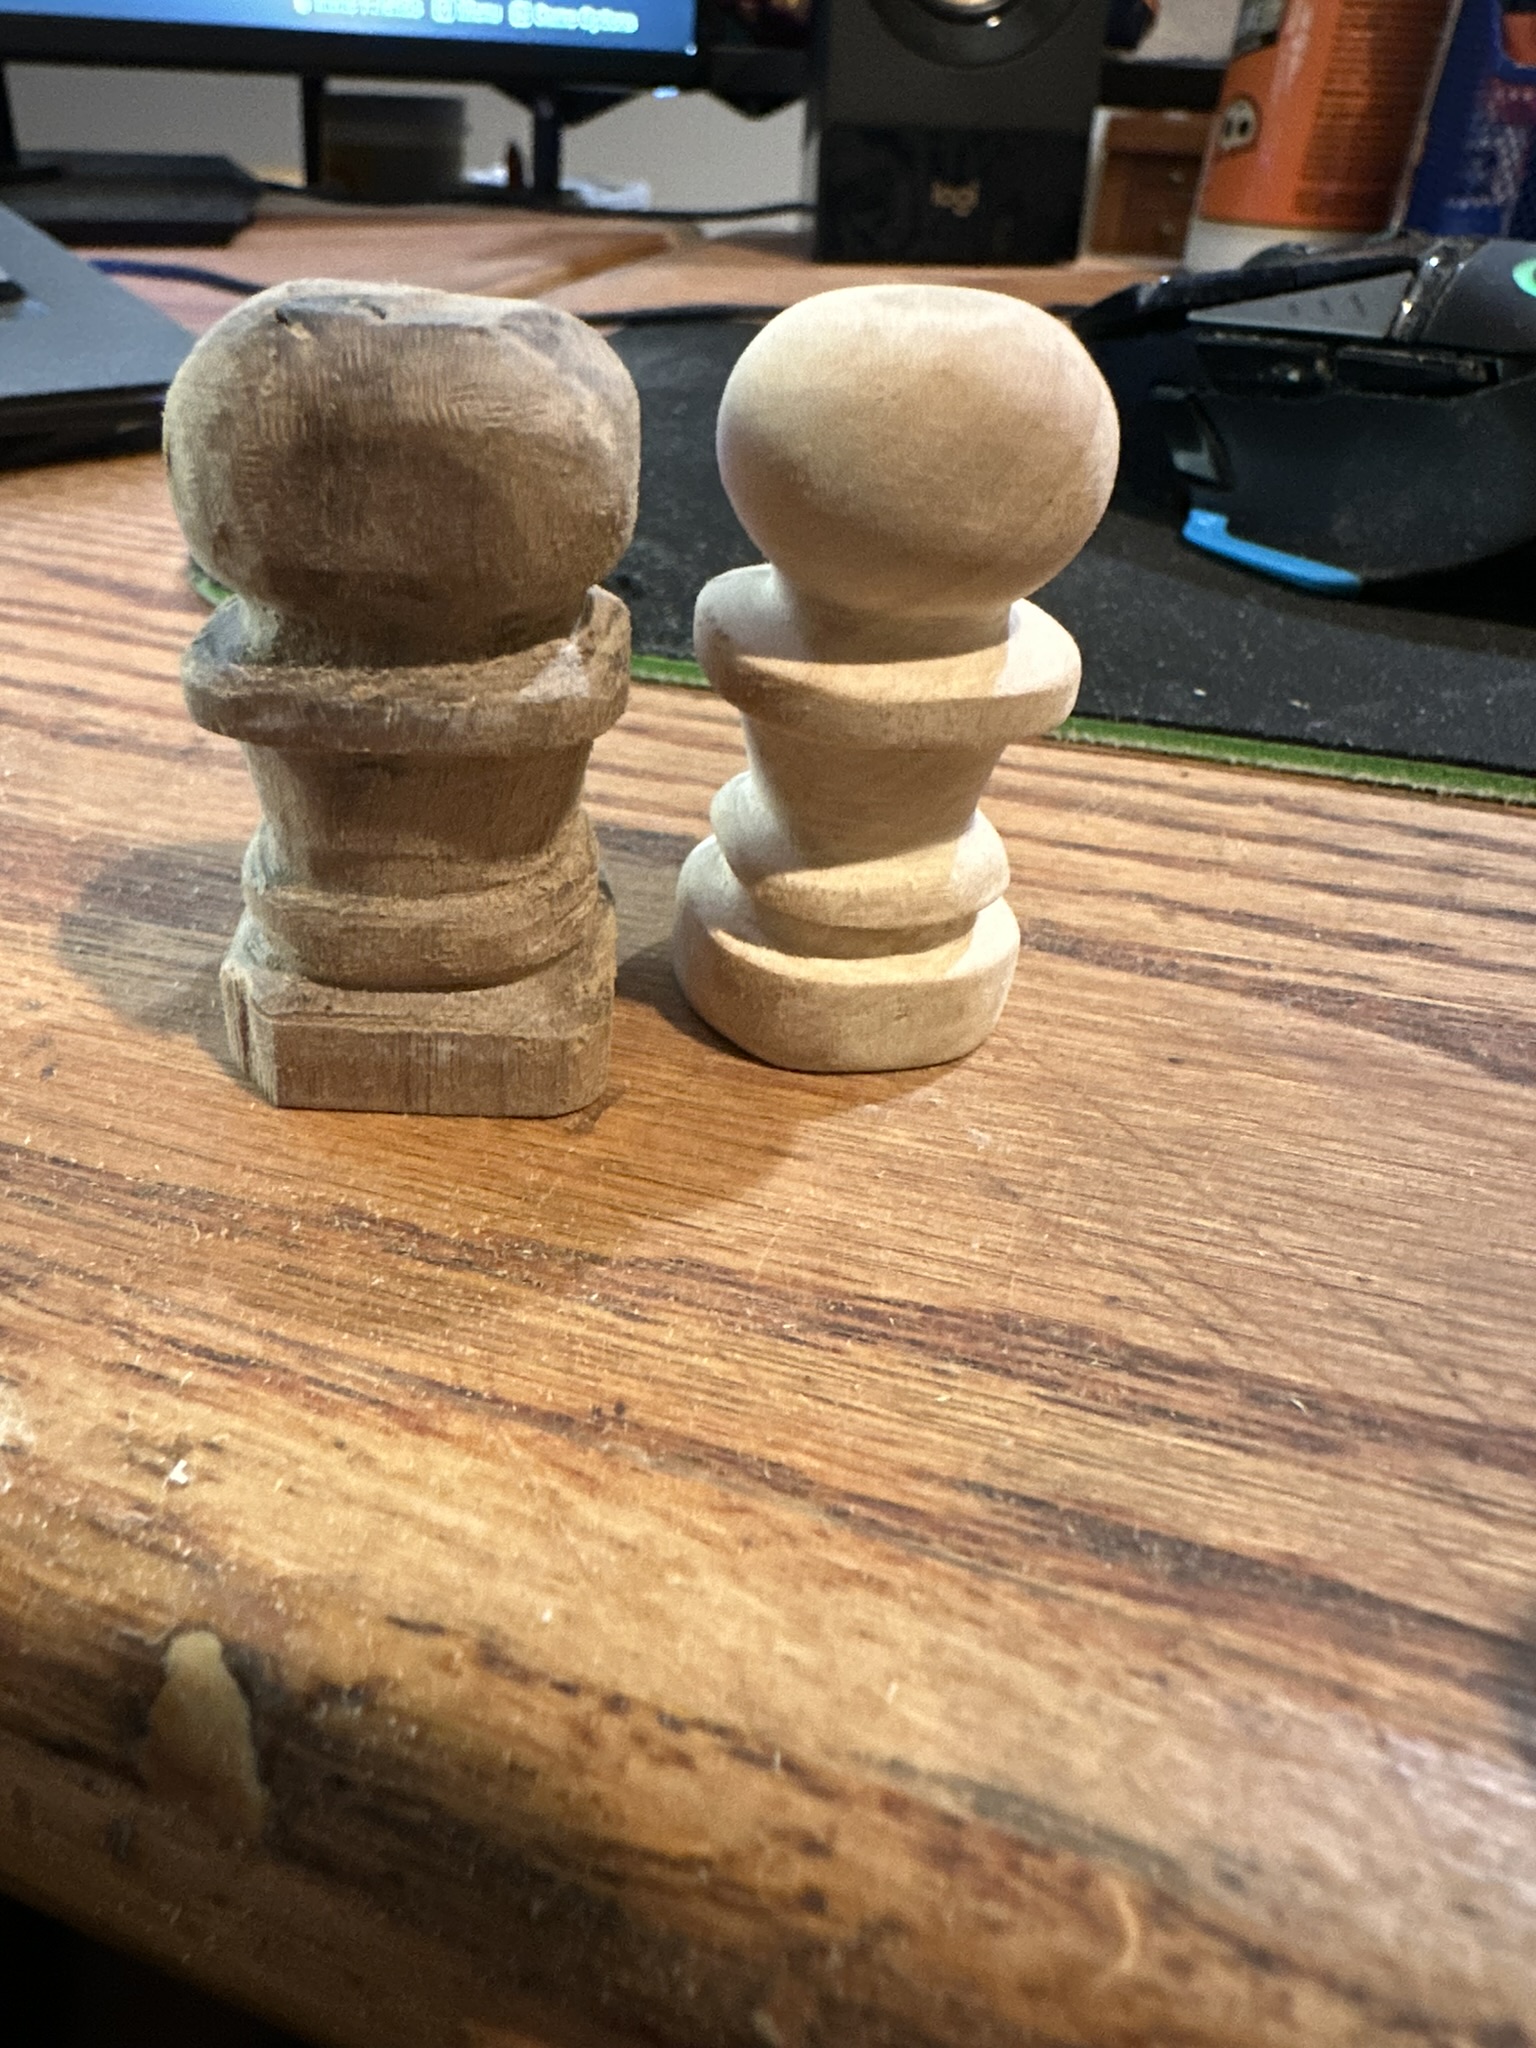
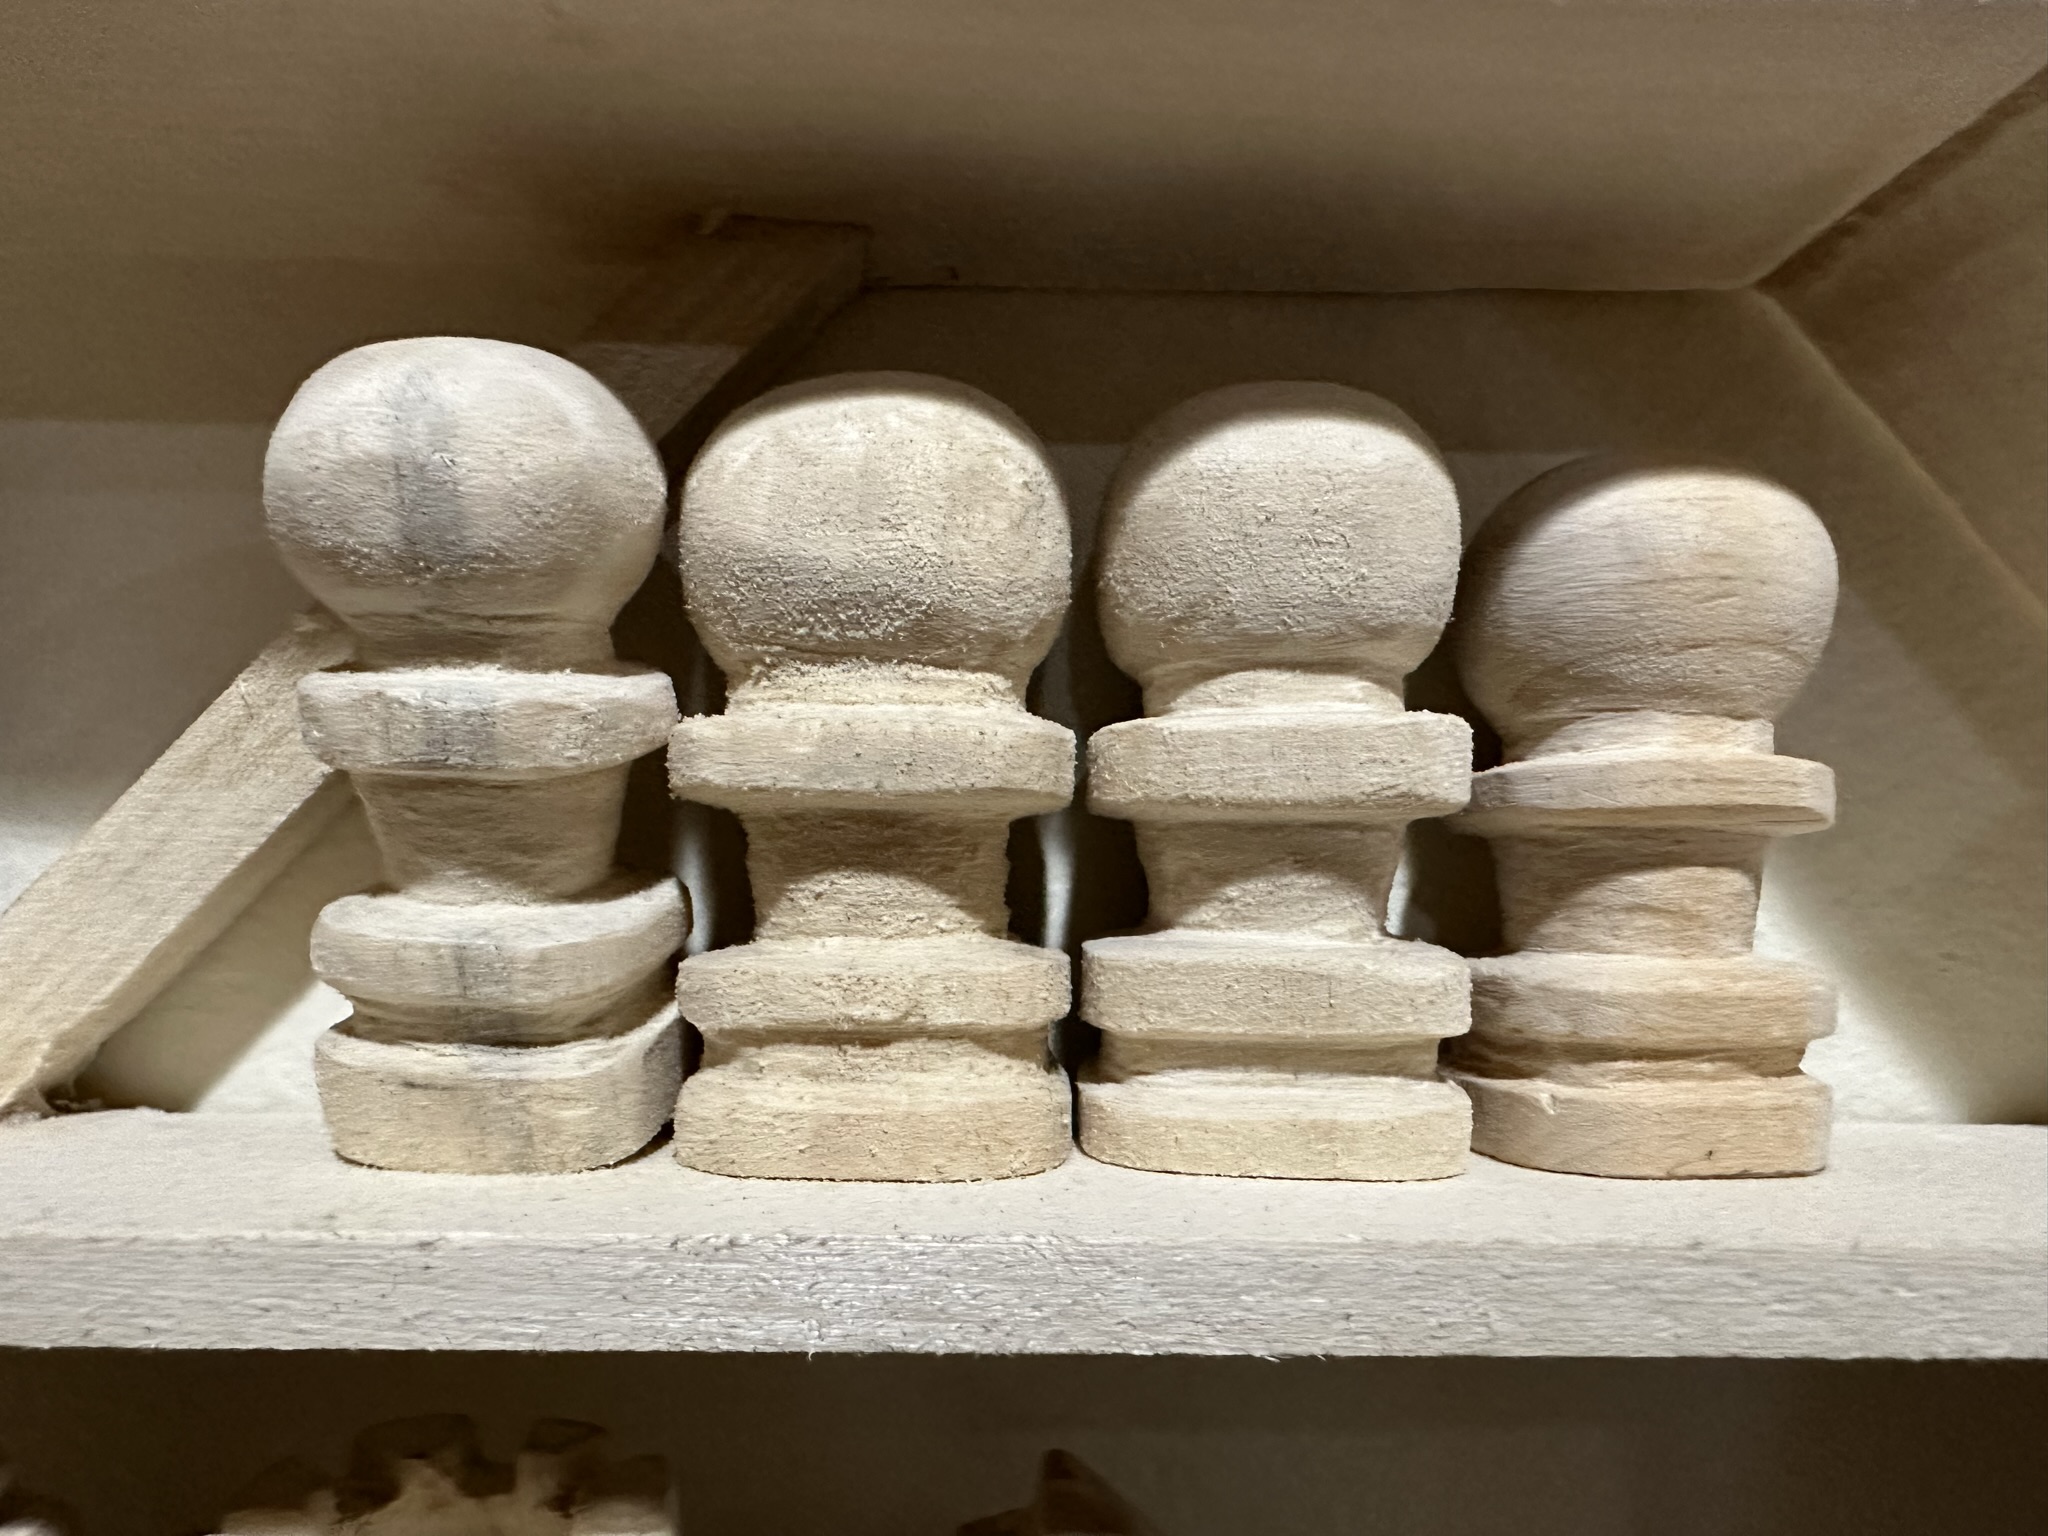
- Half of the white pieces are done and finished to a 600 grit. I’m trashing the white queen and redoing it.
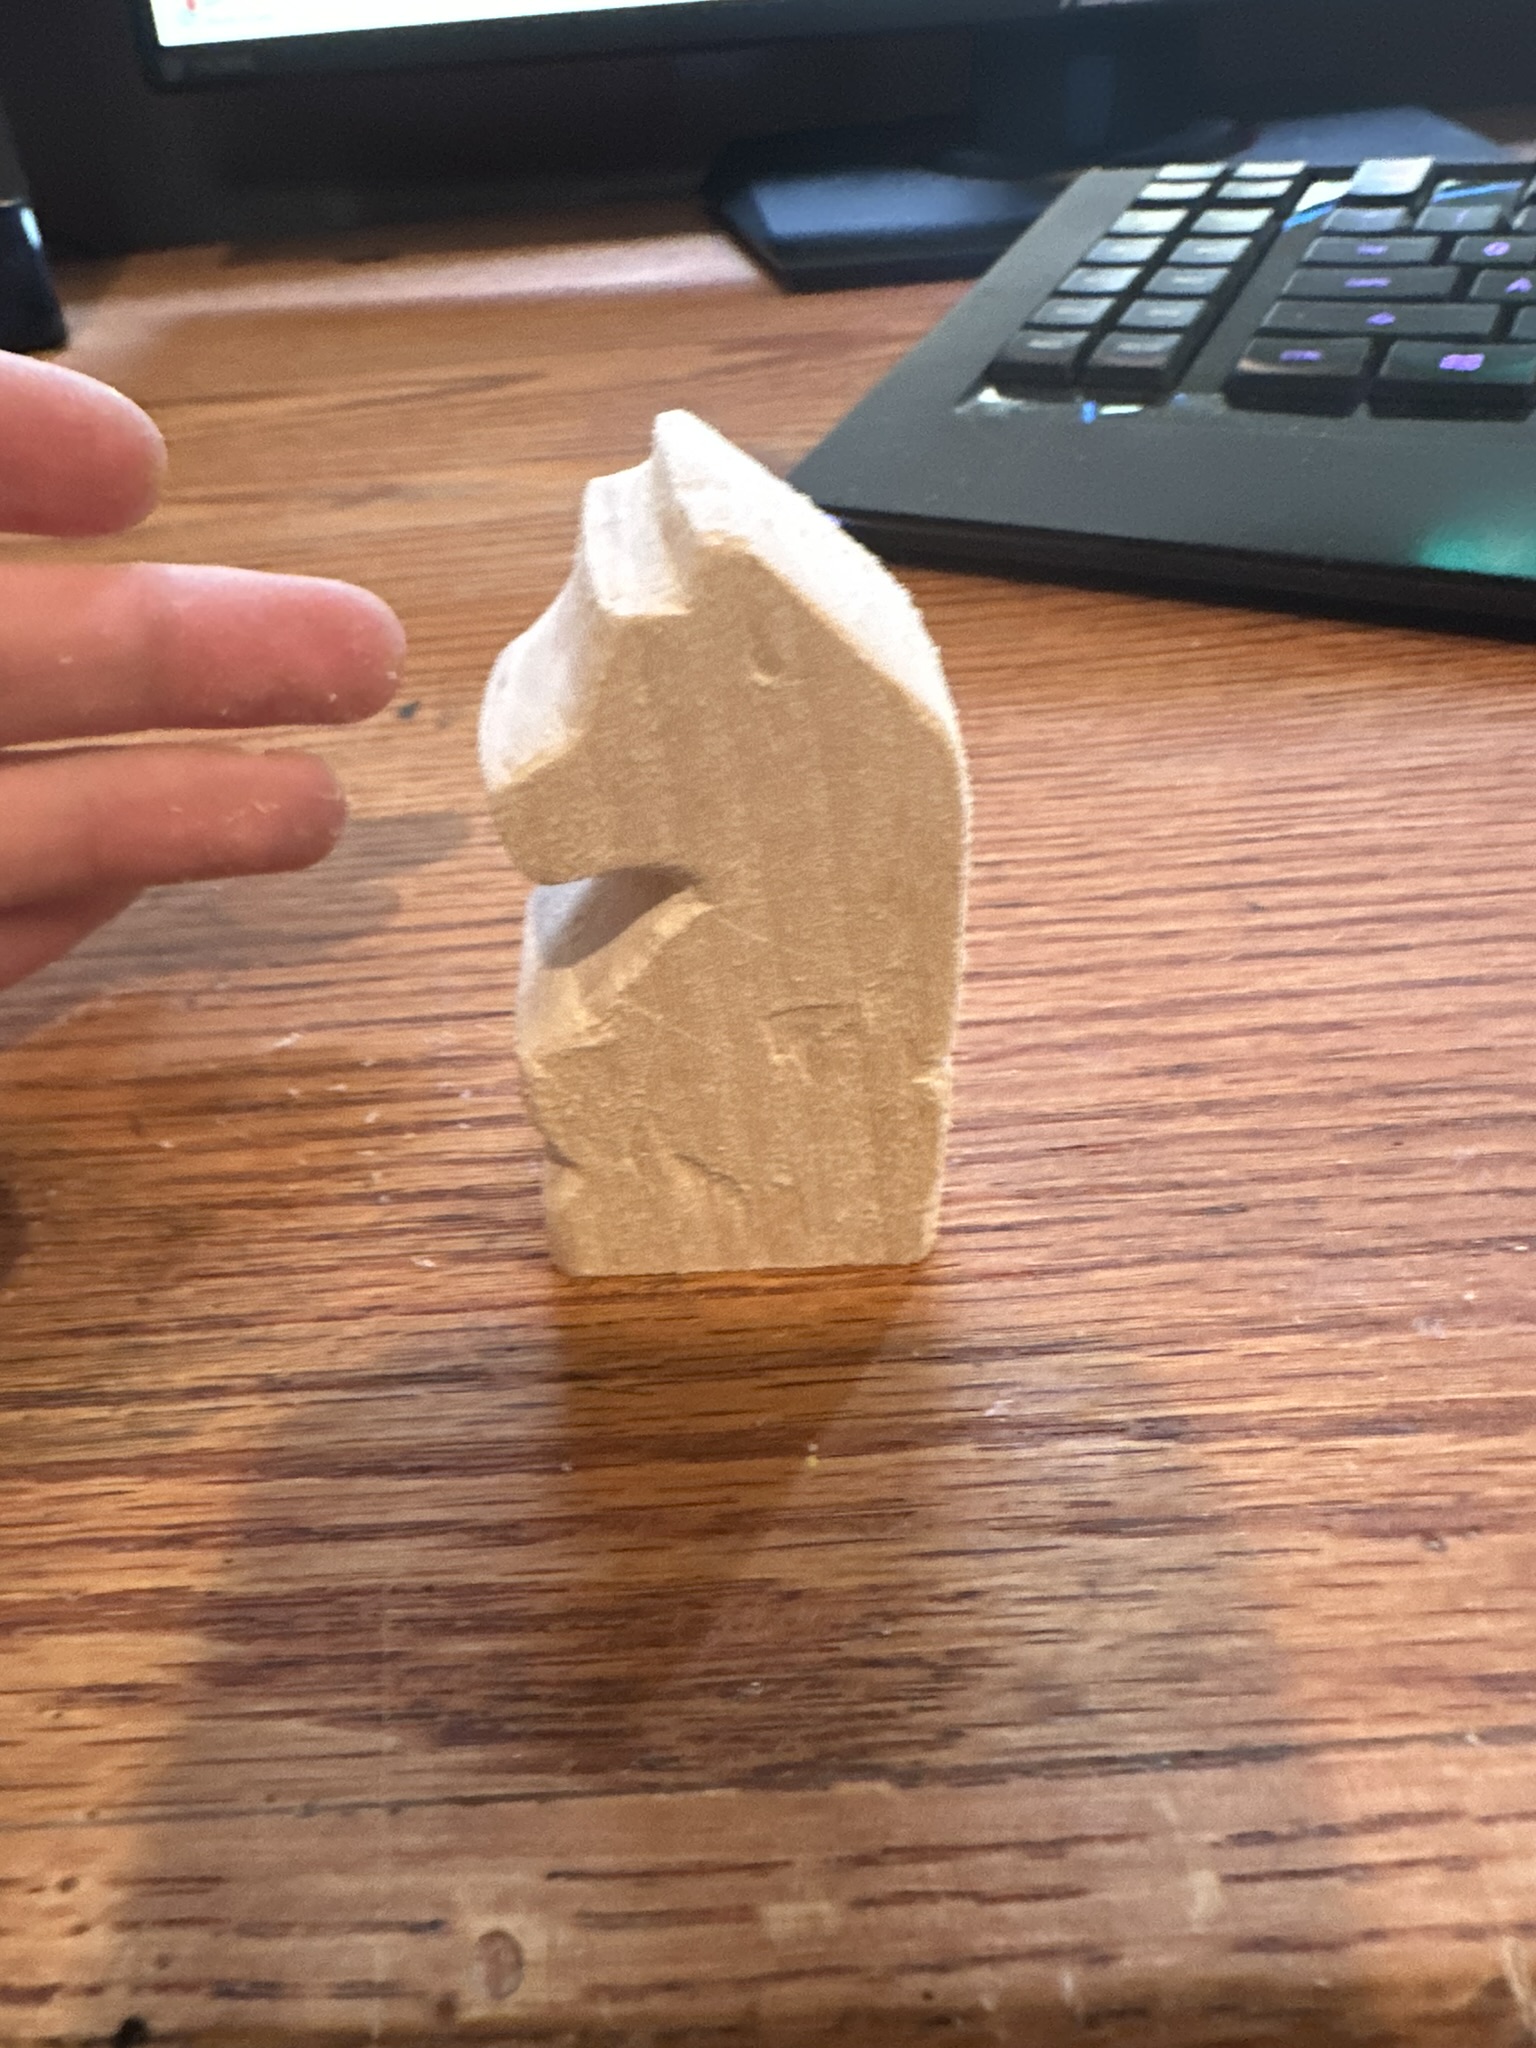
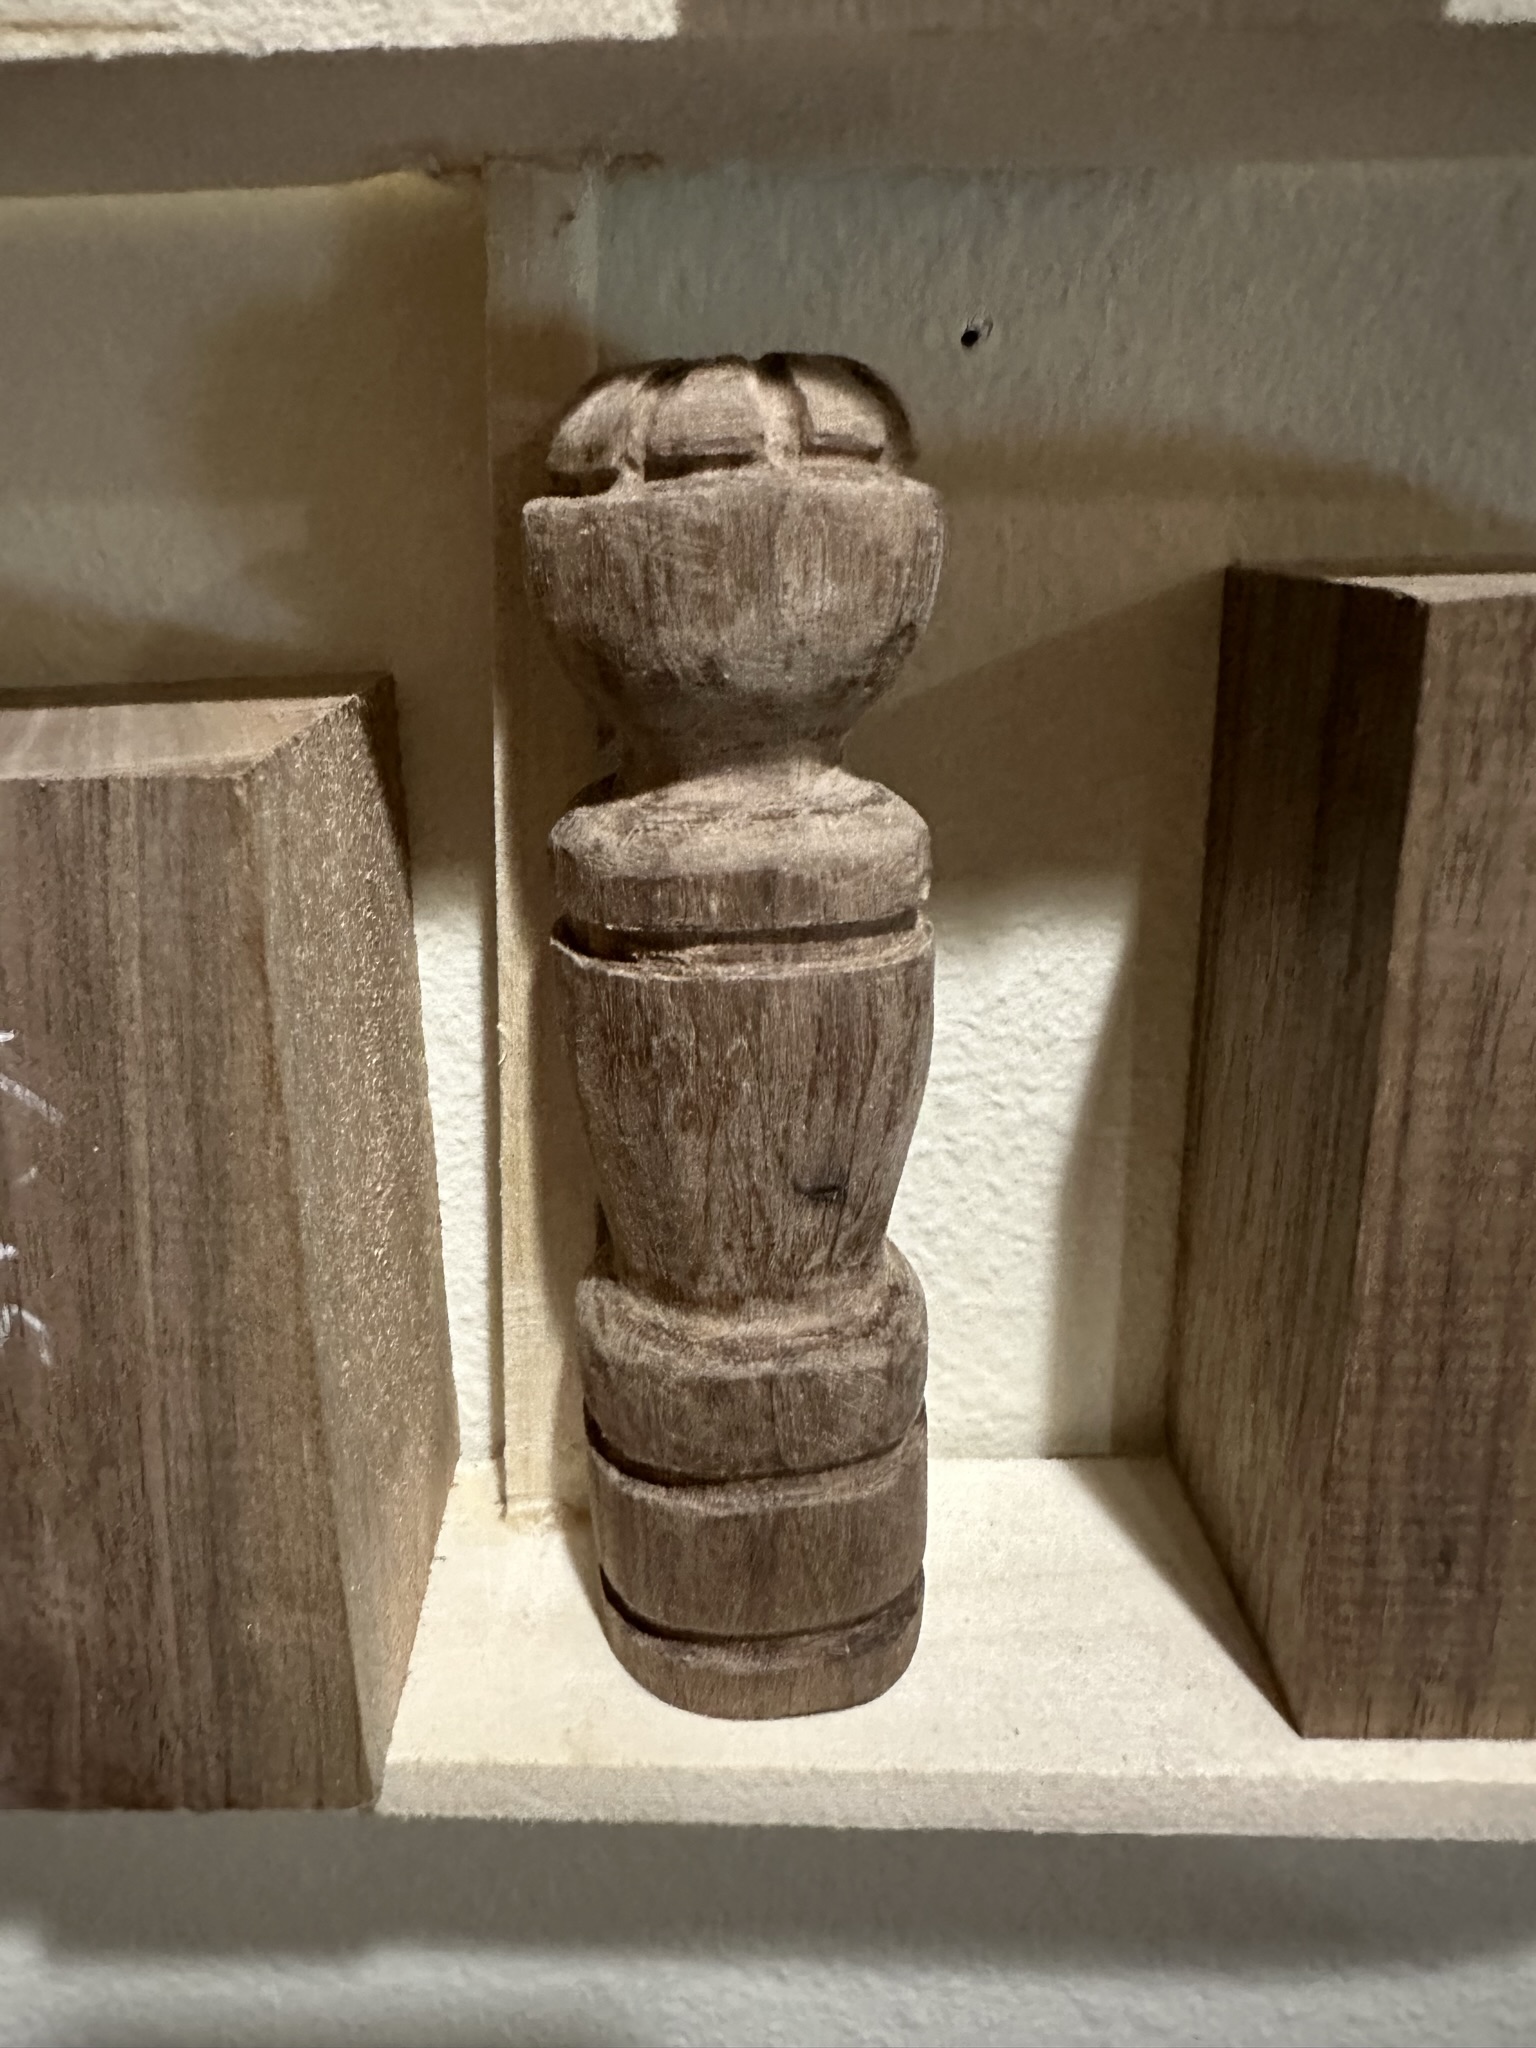
- I roughed out the second black pawn, but cut myself pretty badly and will be taking a break for a few days.
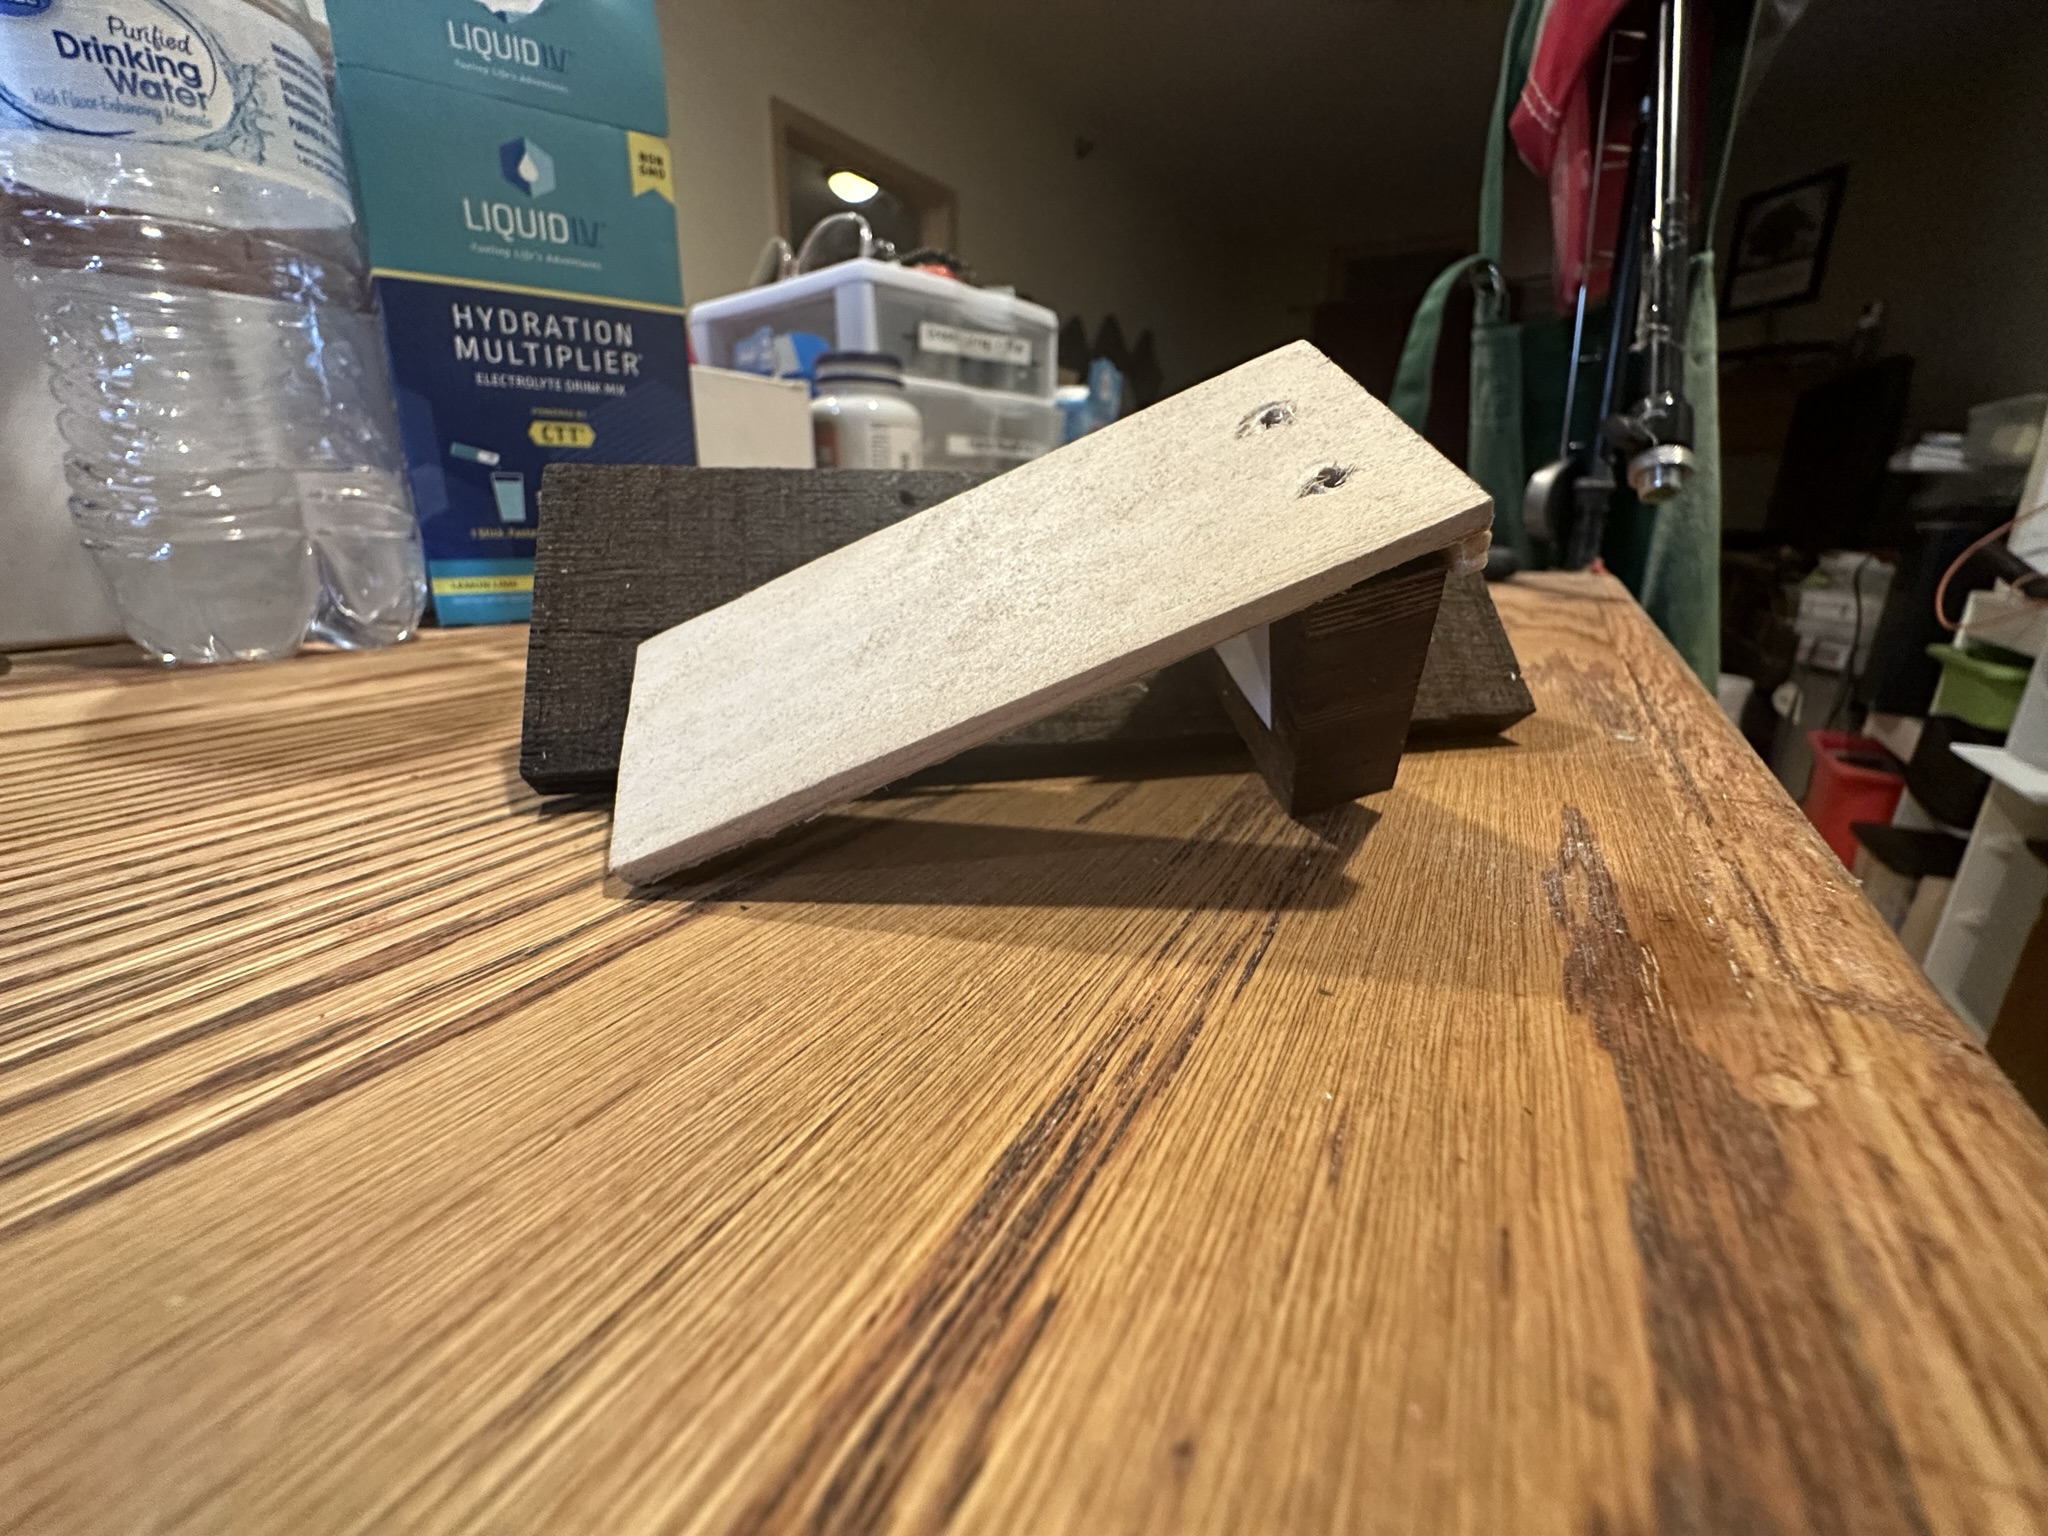
- I made a jig for drilling the pinholes and for cutting the board squares.
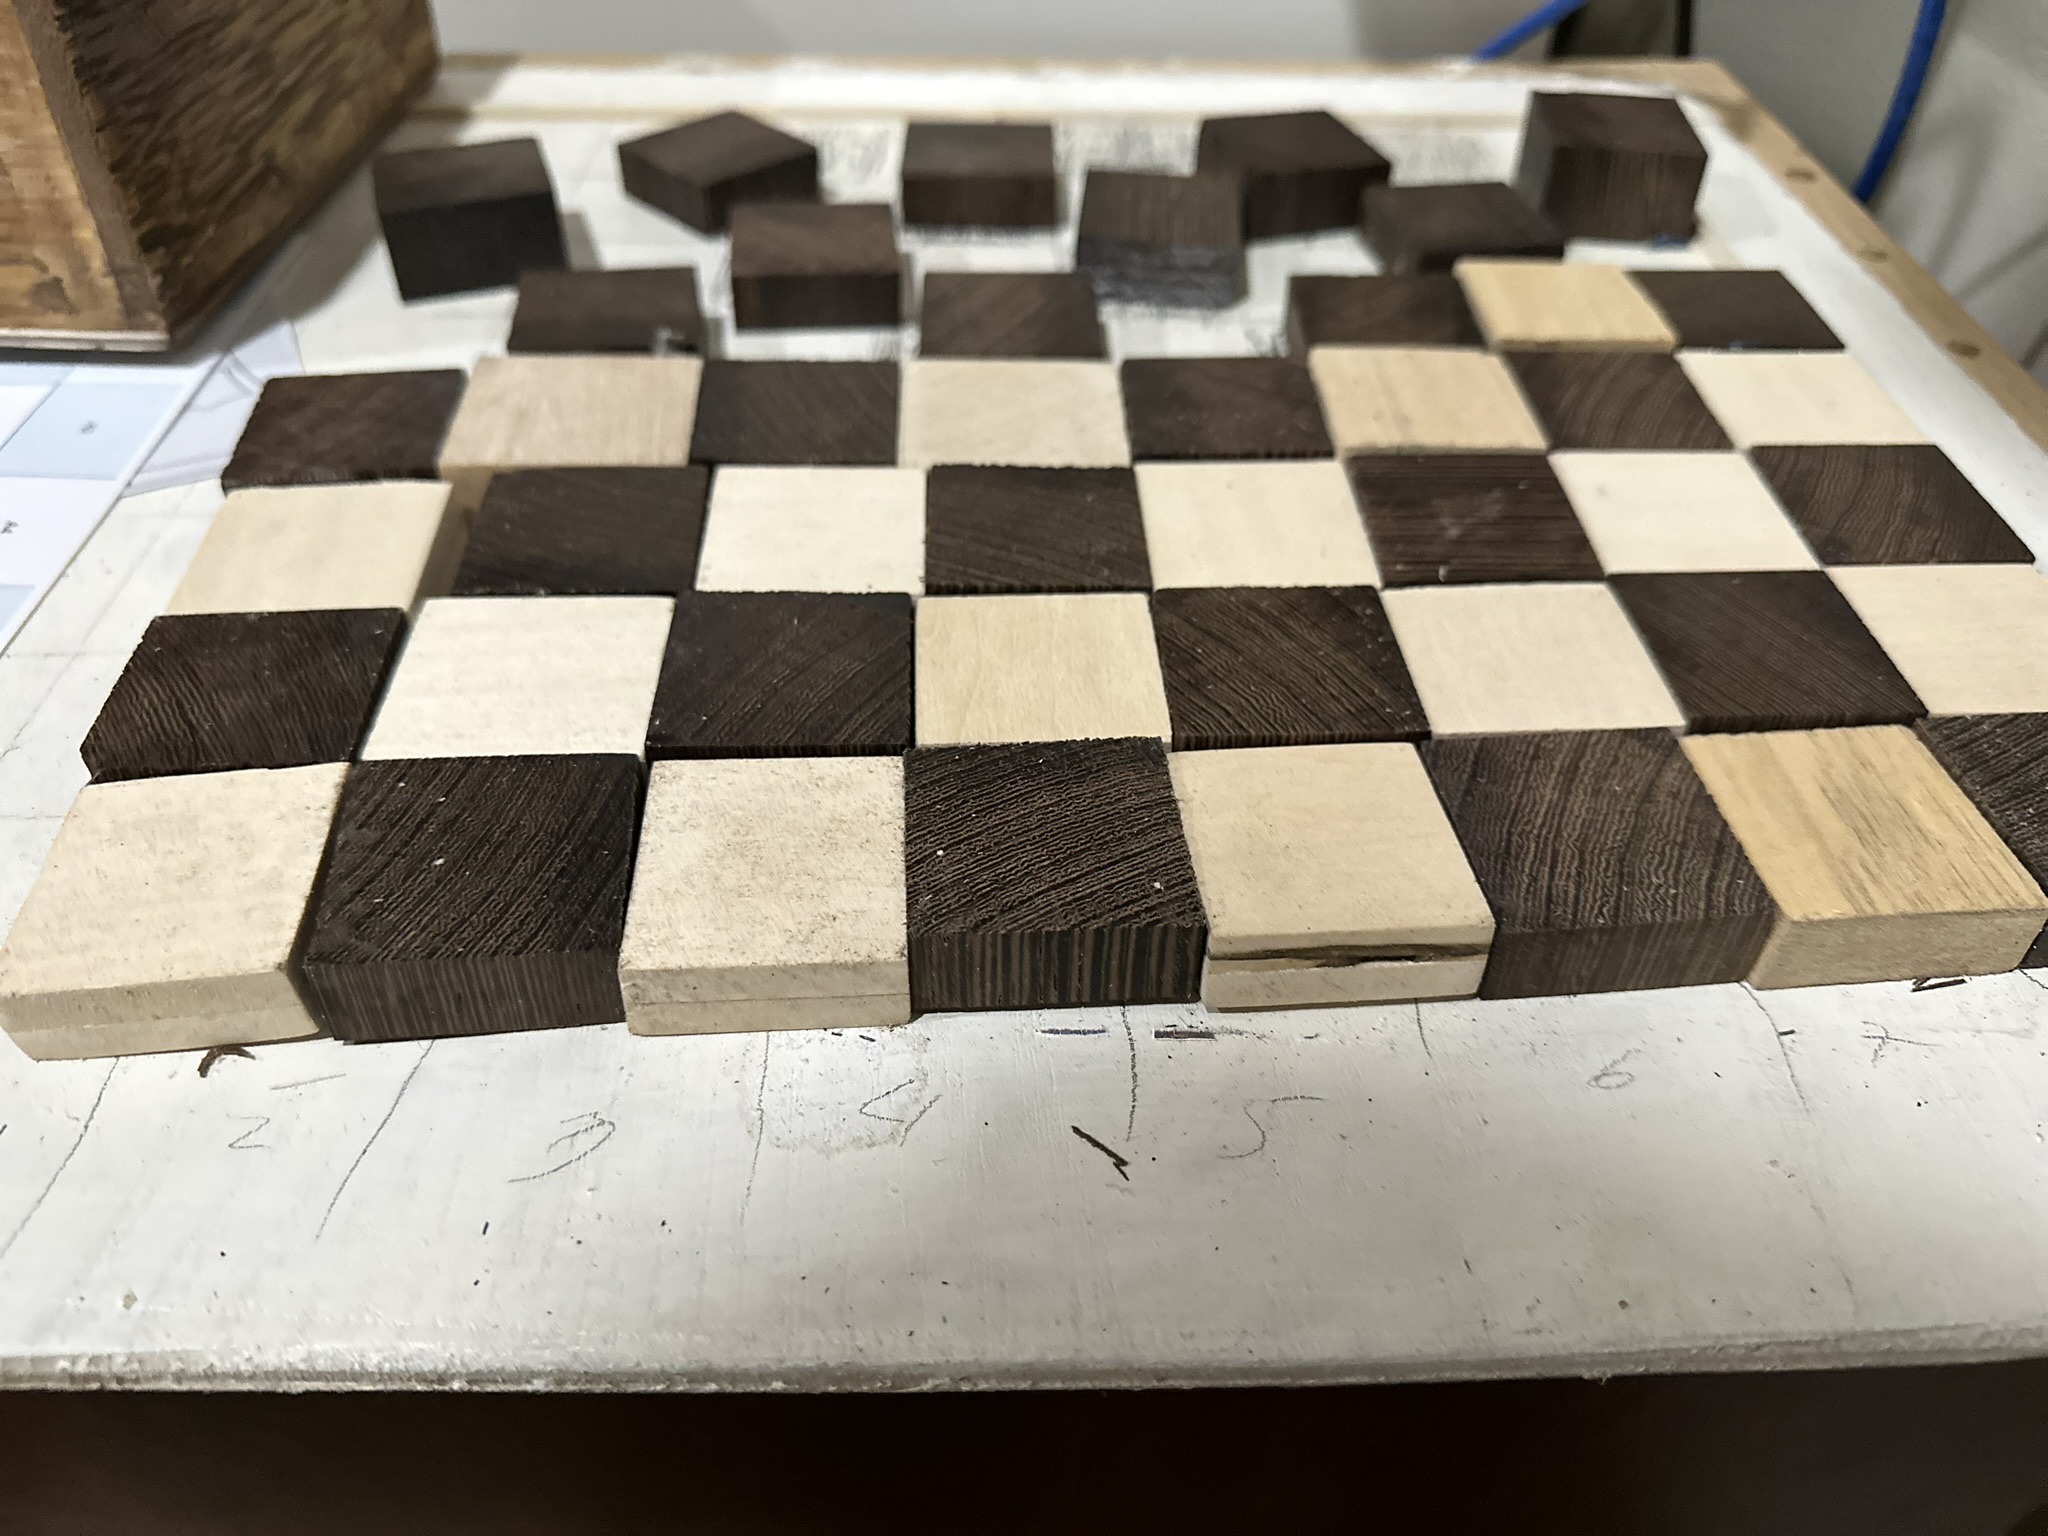
Starting the board:
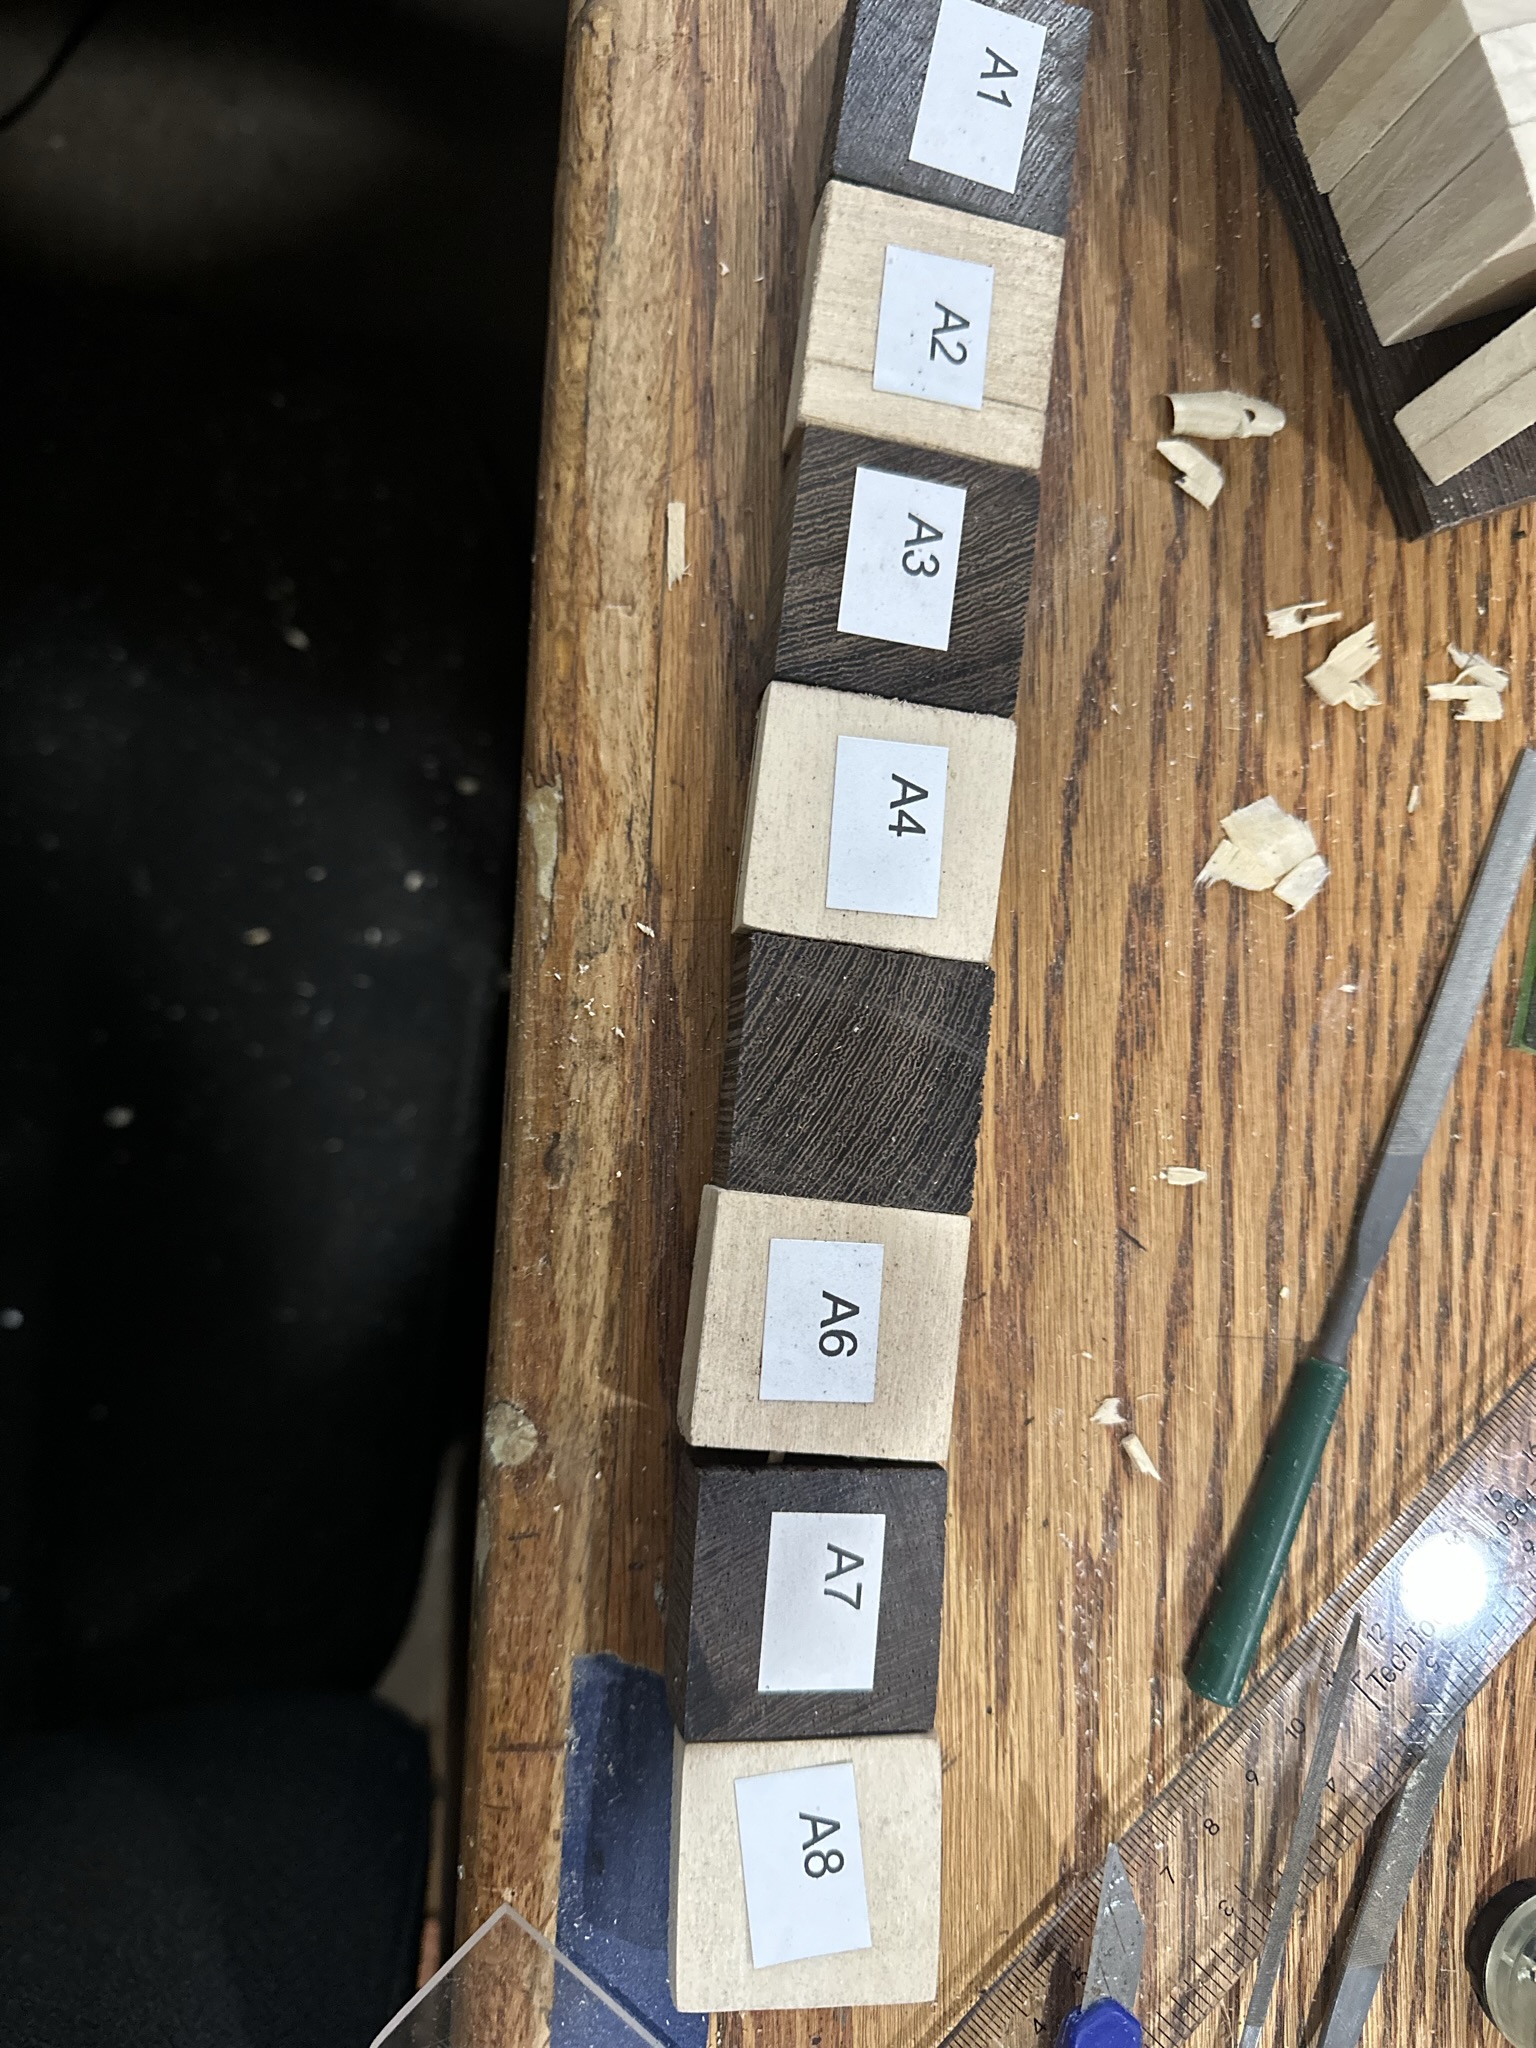
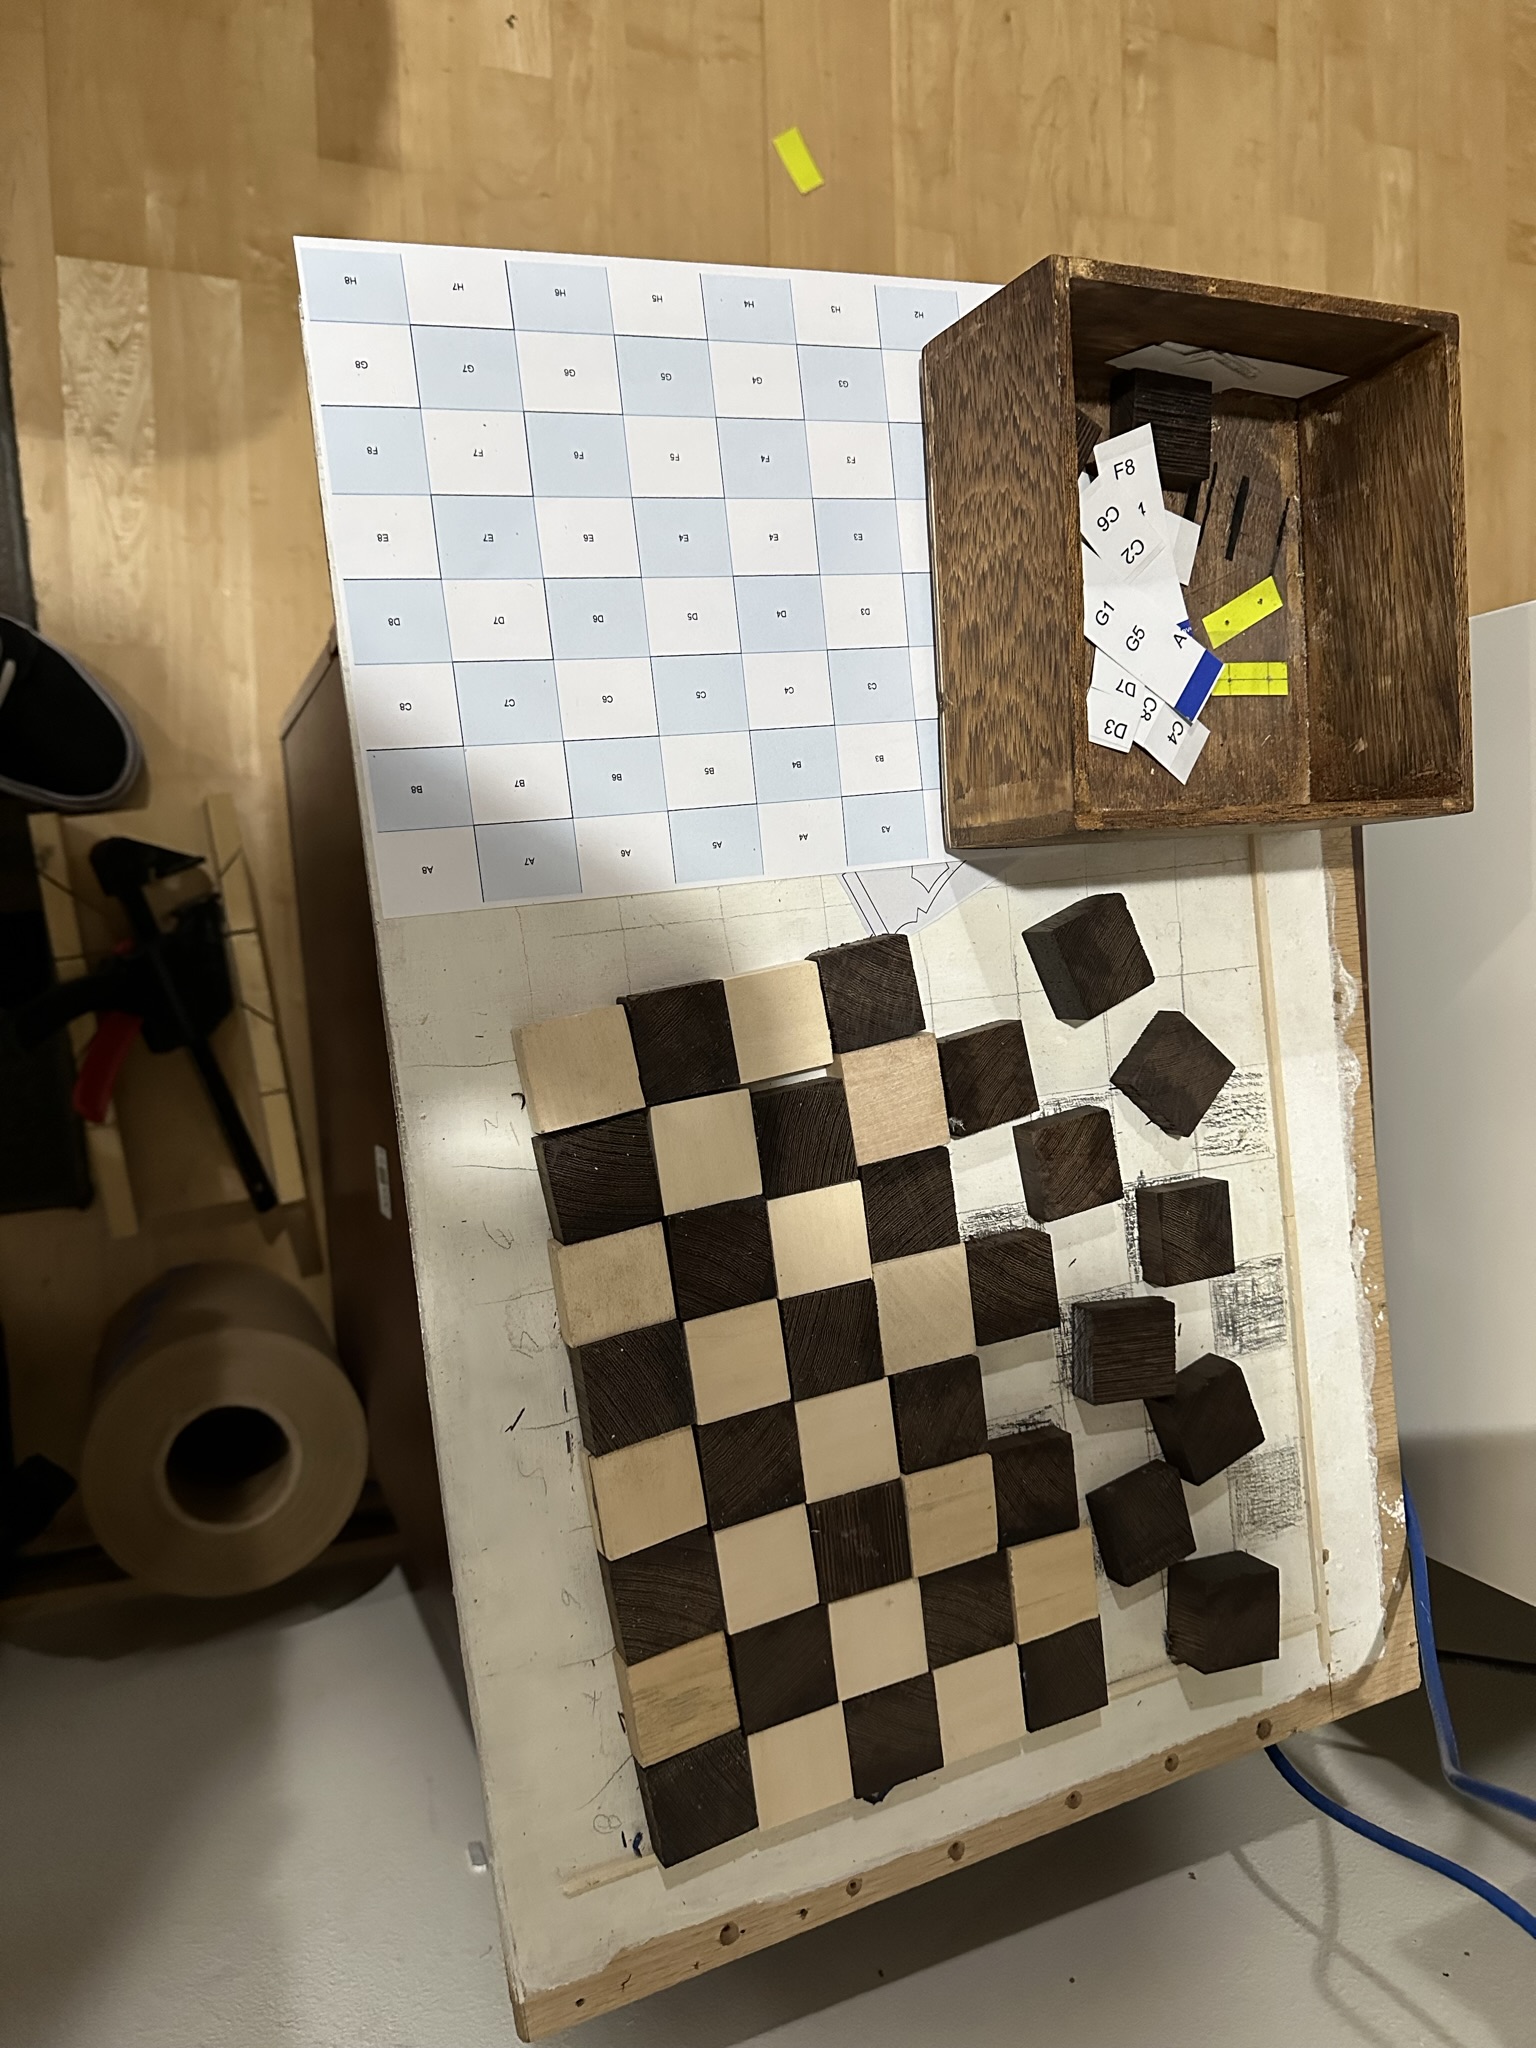
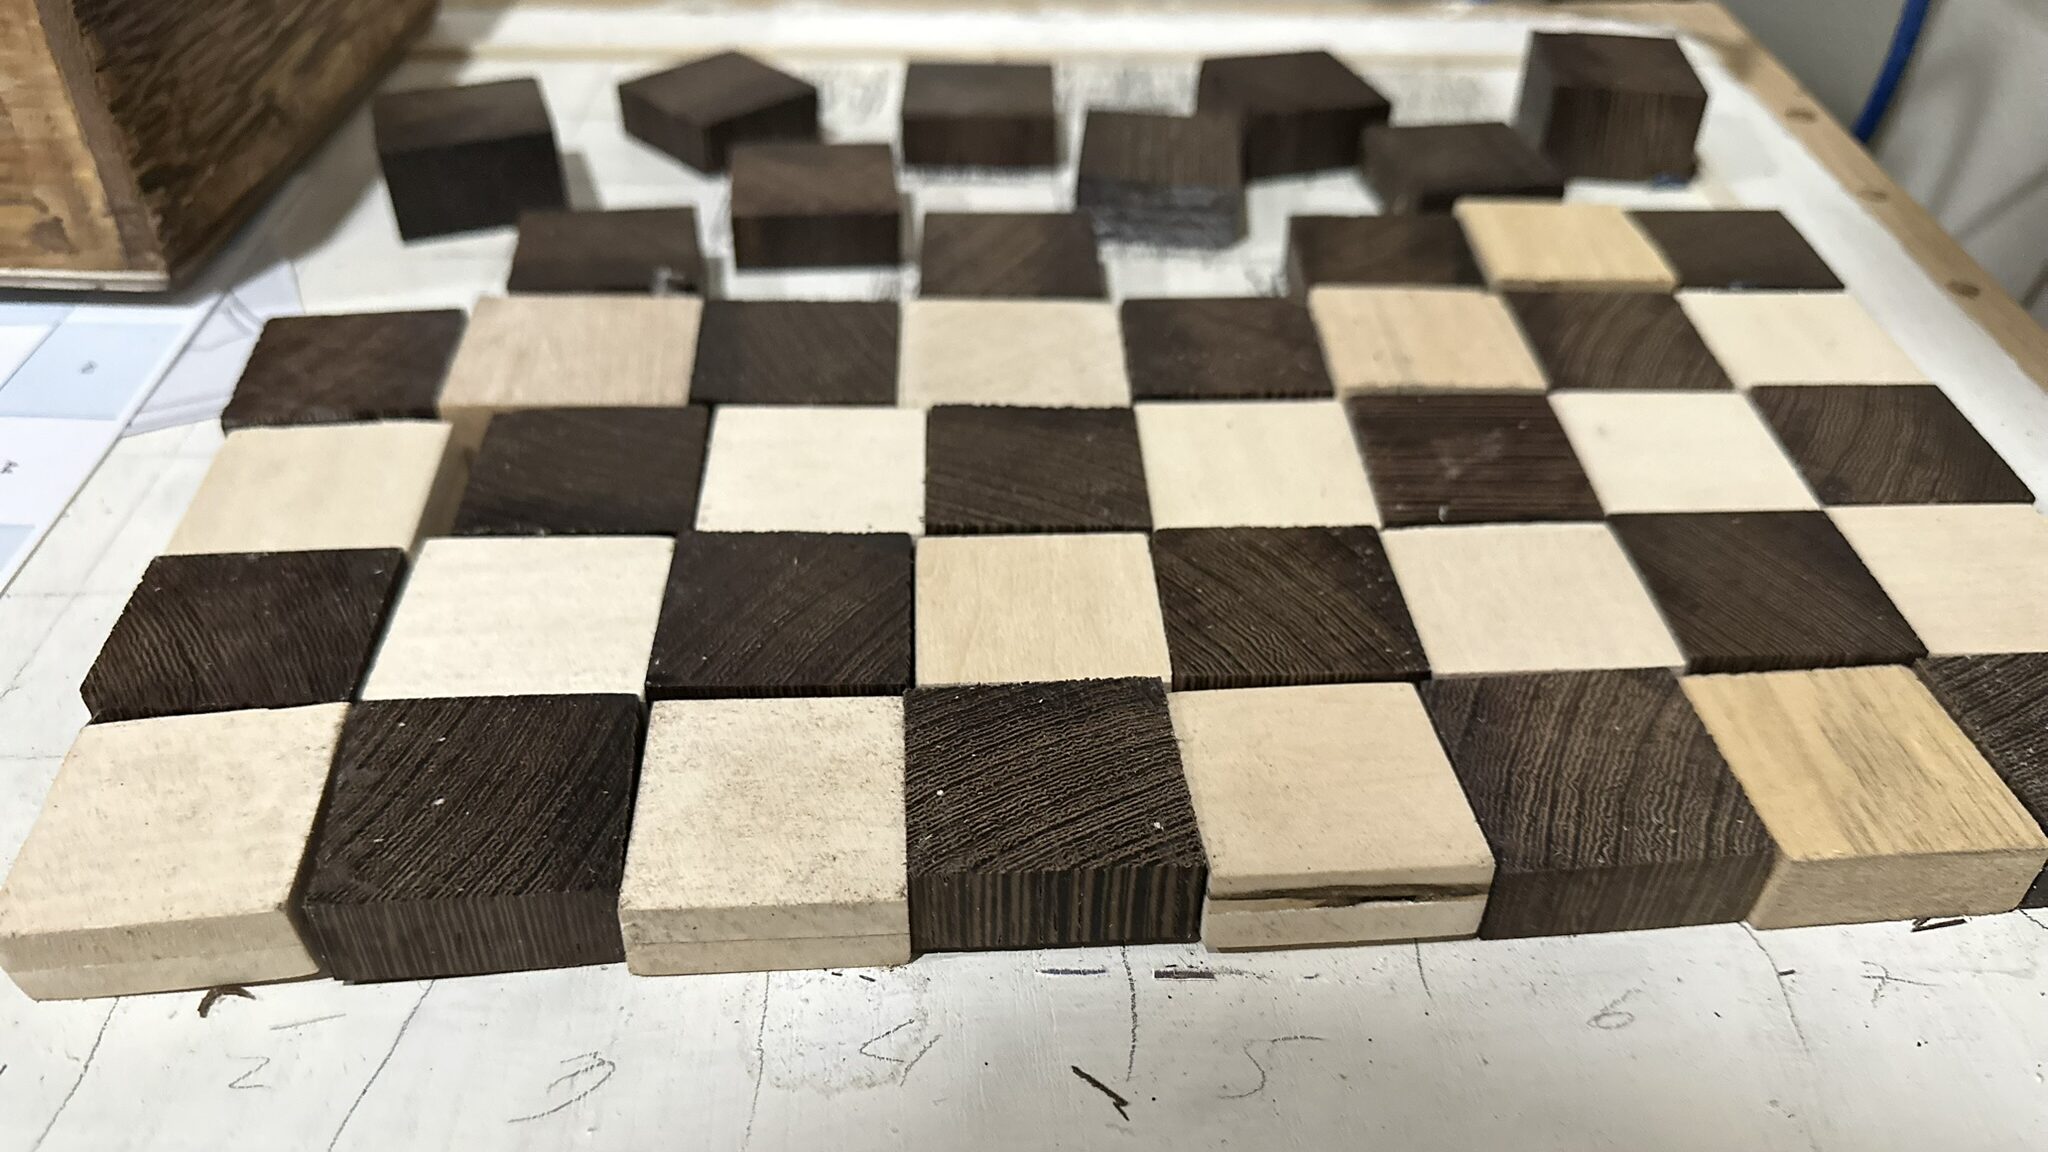
The wenge (darker pieces) is cut to 1.5″ x 1.5″, but I didn’t have quite enough. One of the four 10″ pieces ended up being unusable. Wenge is a very brittle wood when it’s thin, as well as very dense, which makes it difficult to cut by hand. I attempted to size the blocks down by hand and even with a miter box clamped into my workbench, I skewed by 1/4″ into the cut and the twist was bad enough it was unrecoverable. I have more than half (19) of the white squares done, I’m using basswood I sourced from my grandma’s neighbor/brother-in-law. All the of basswood pieces are used from the same family-sourced basswood!

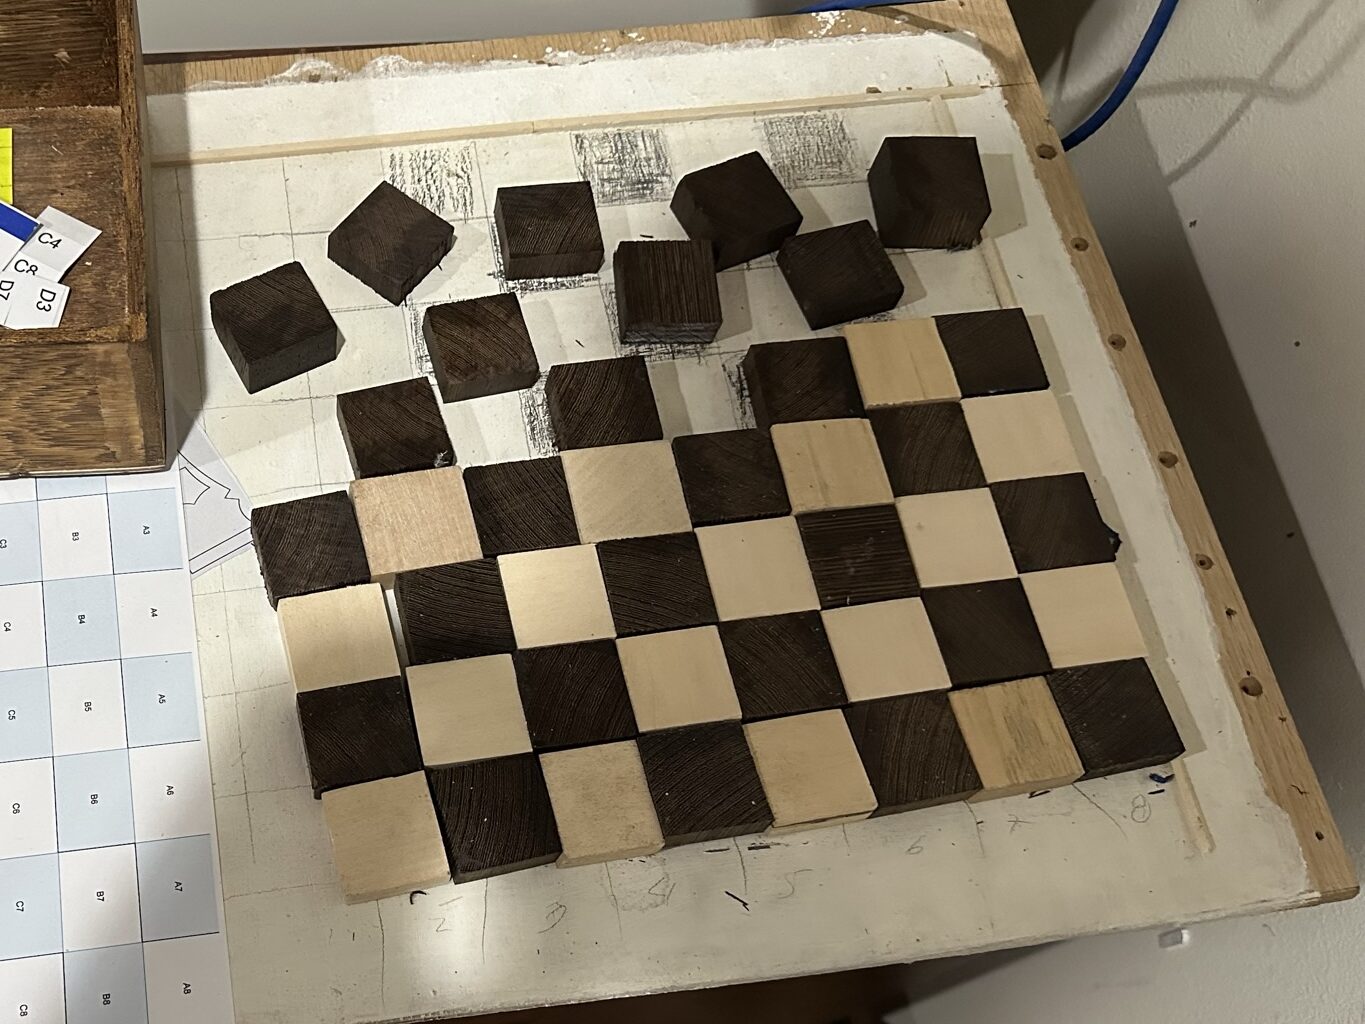
I have 27 pieces rough cut and I’m starting drilling and pinning. I’m using birch/pine dowels and I’m gluing them into the basswood pieces, as it’s a far more porous material and should bond better than wenge would. The pegs will slot into the black pieces and I’m not gluing the rows together until all the pieces are done.
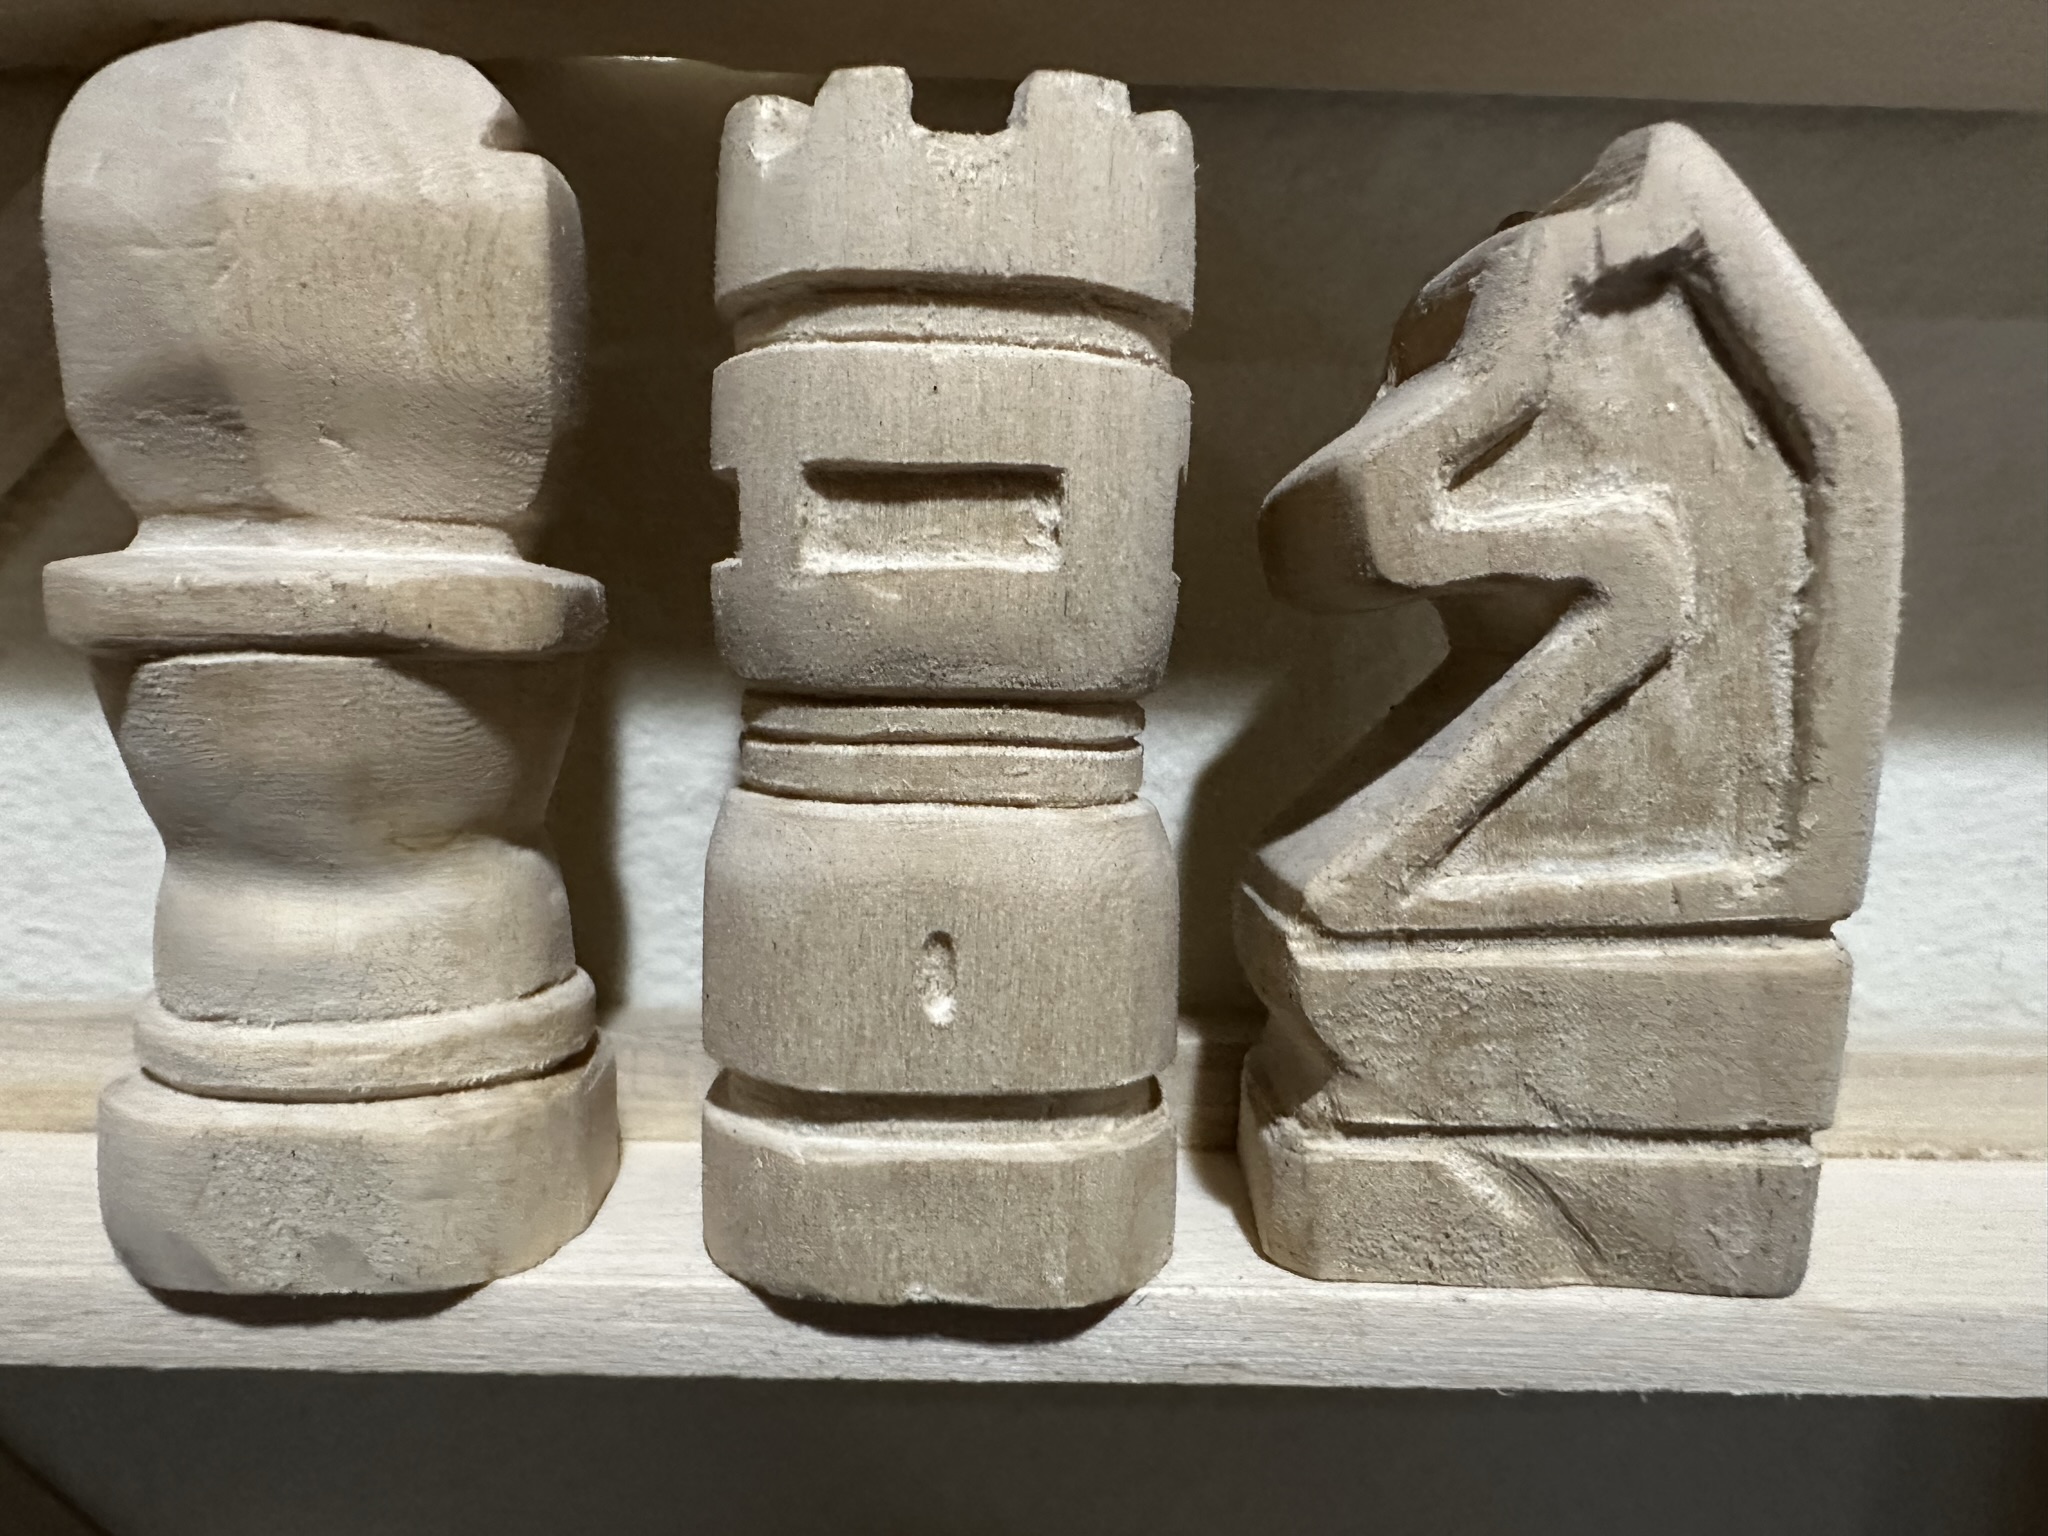
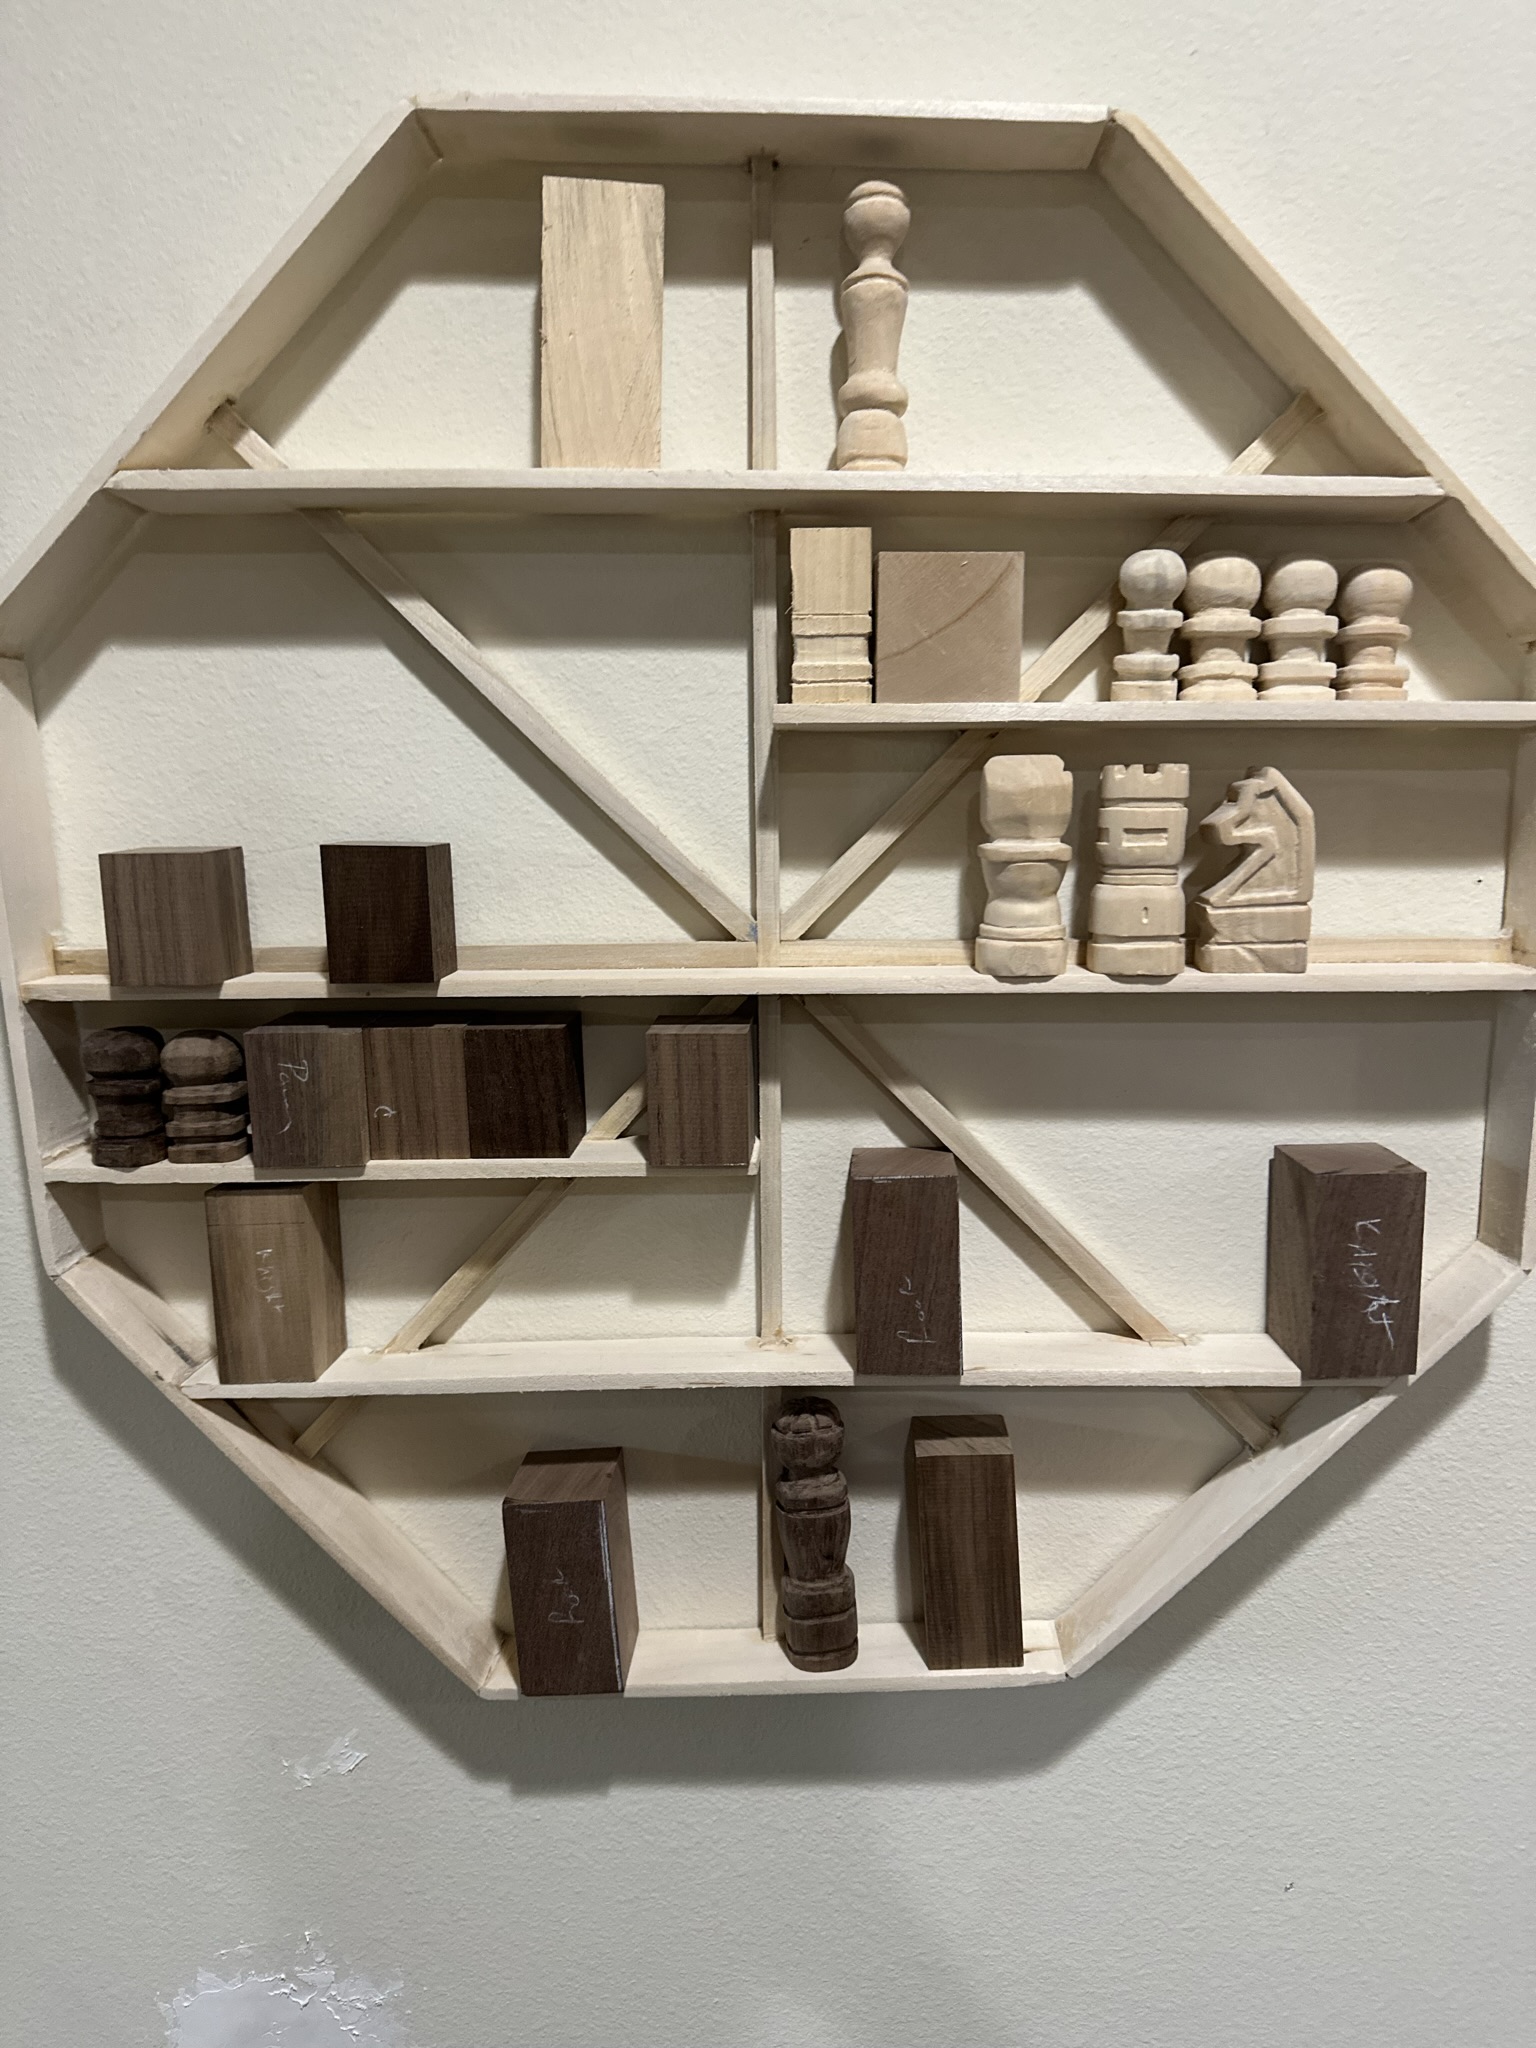
Pawns, Knights, and Rooks Oh My!
Black Team
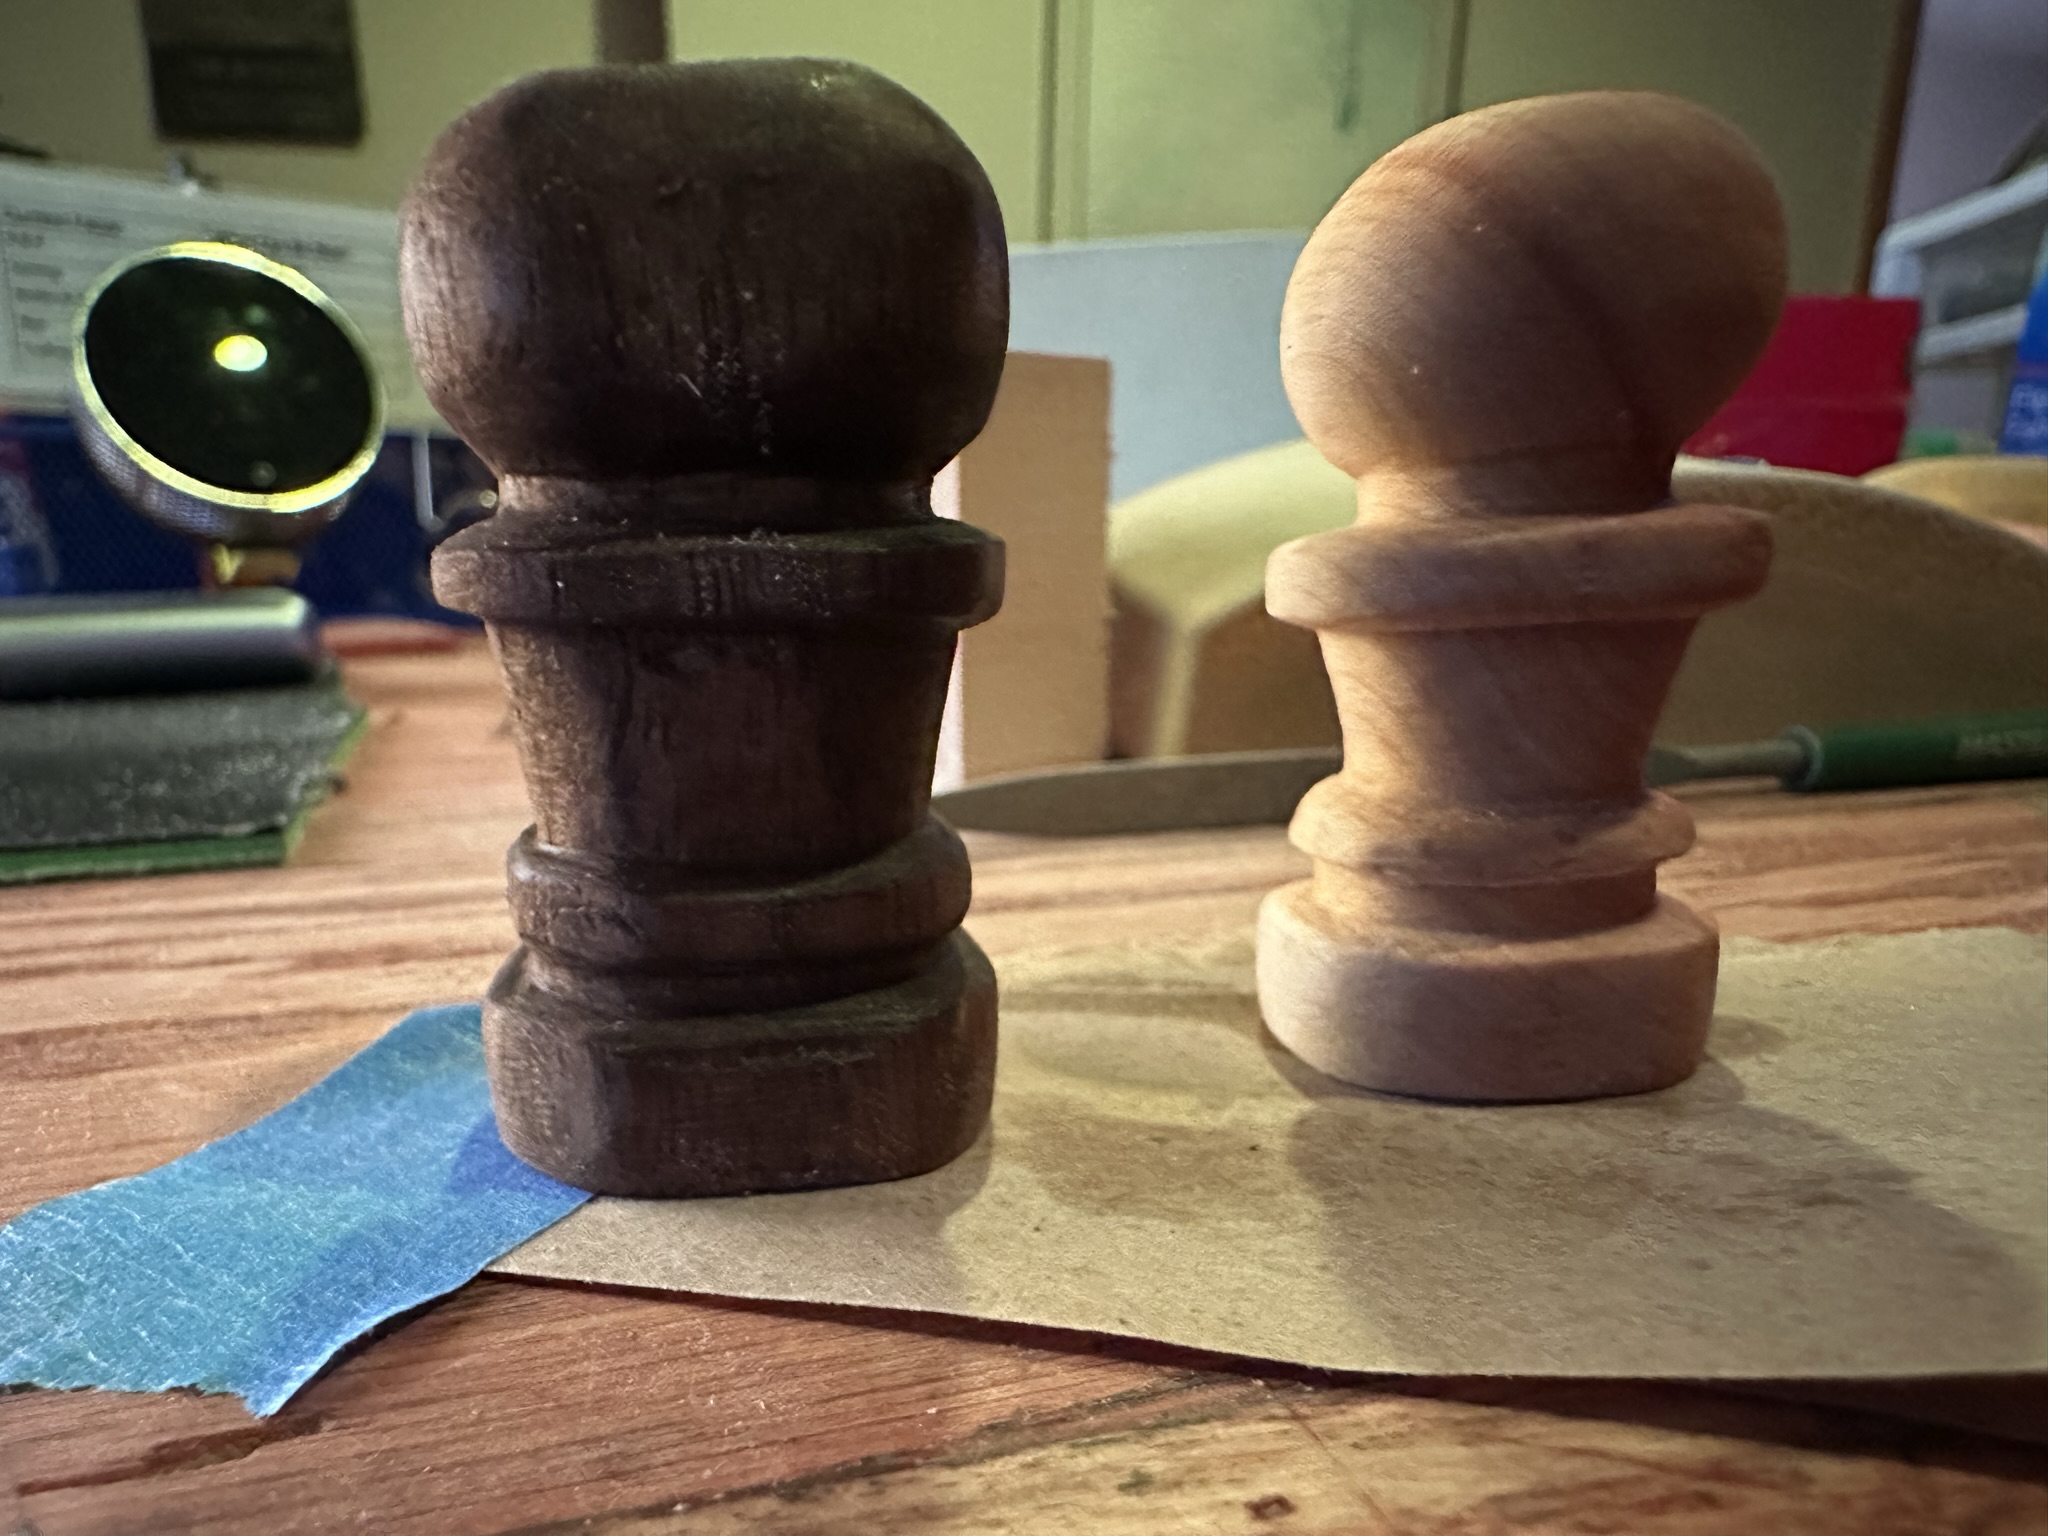
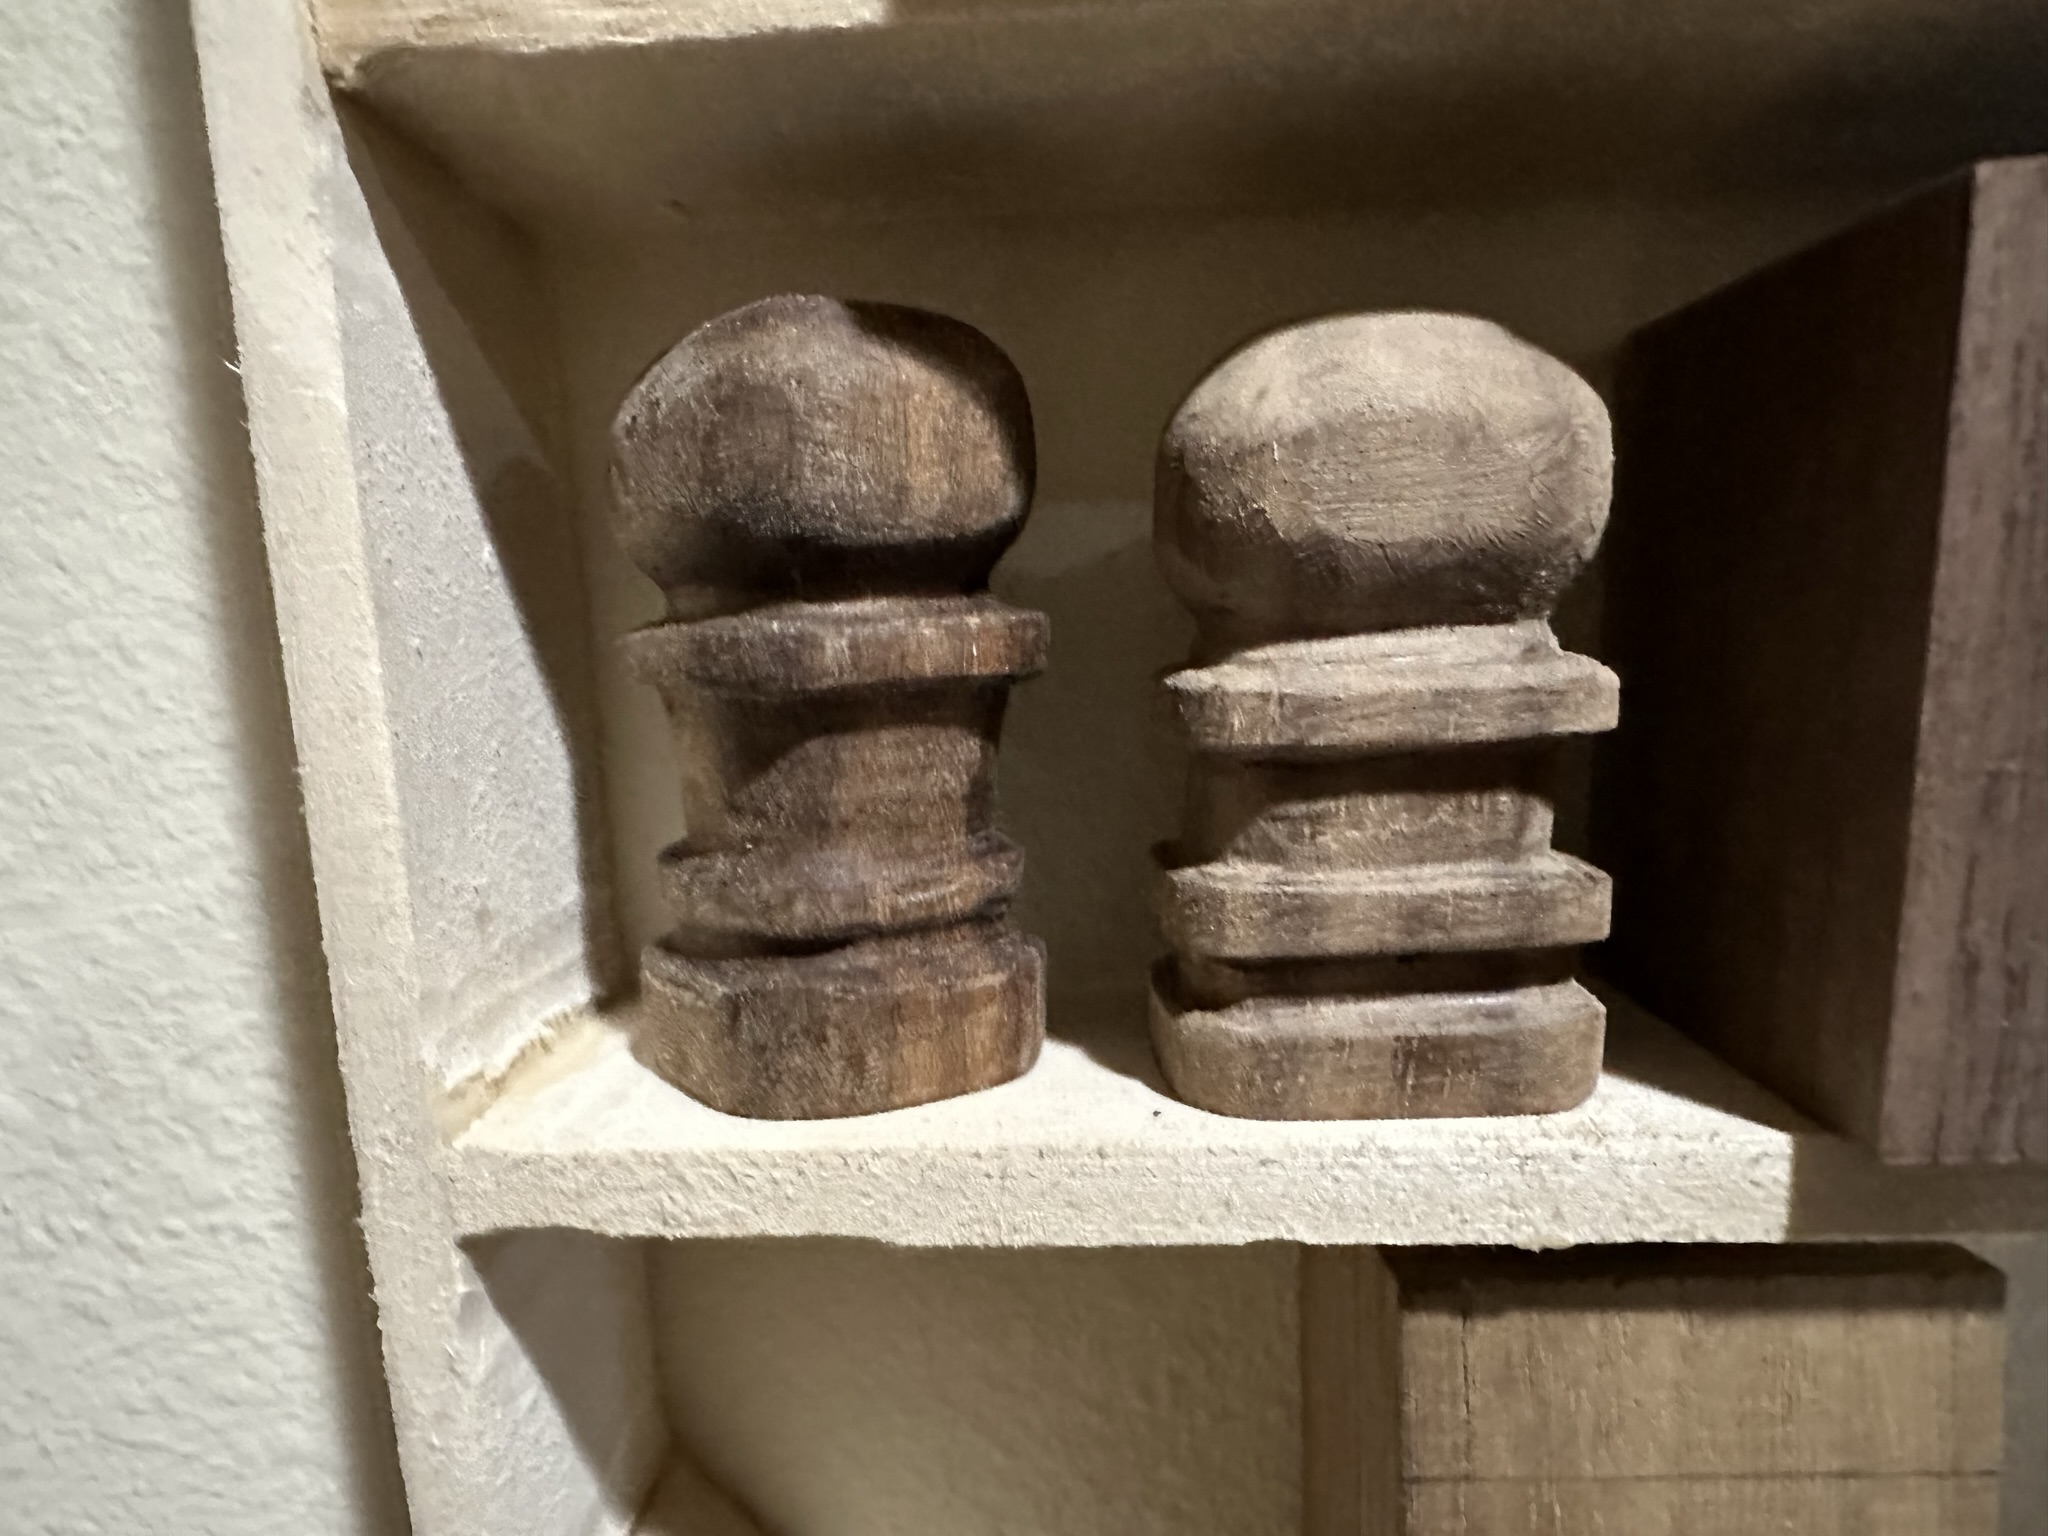
- A second pawn has been completed to a rough finish. I keep forgetting how difficult black walnut is to work with compared to basswood. It feels like I’m trying to file down a stone!
- I’m pretty satisfied with the black queen, and I think I’m going to scrap the white queen prototype and redo it. The white queen is far too narrow in radius and the proportions don’t match up quite right…
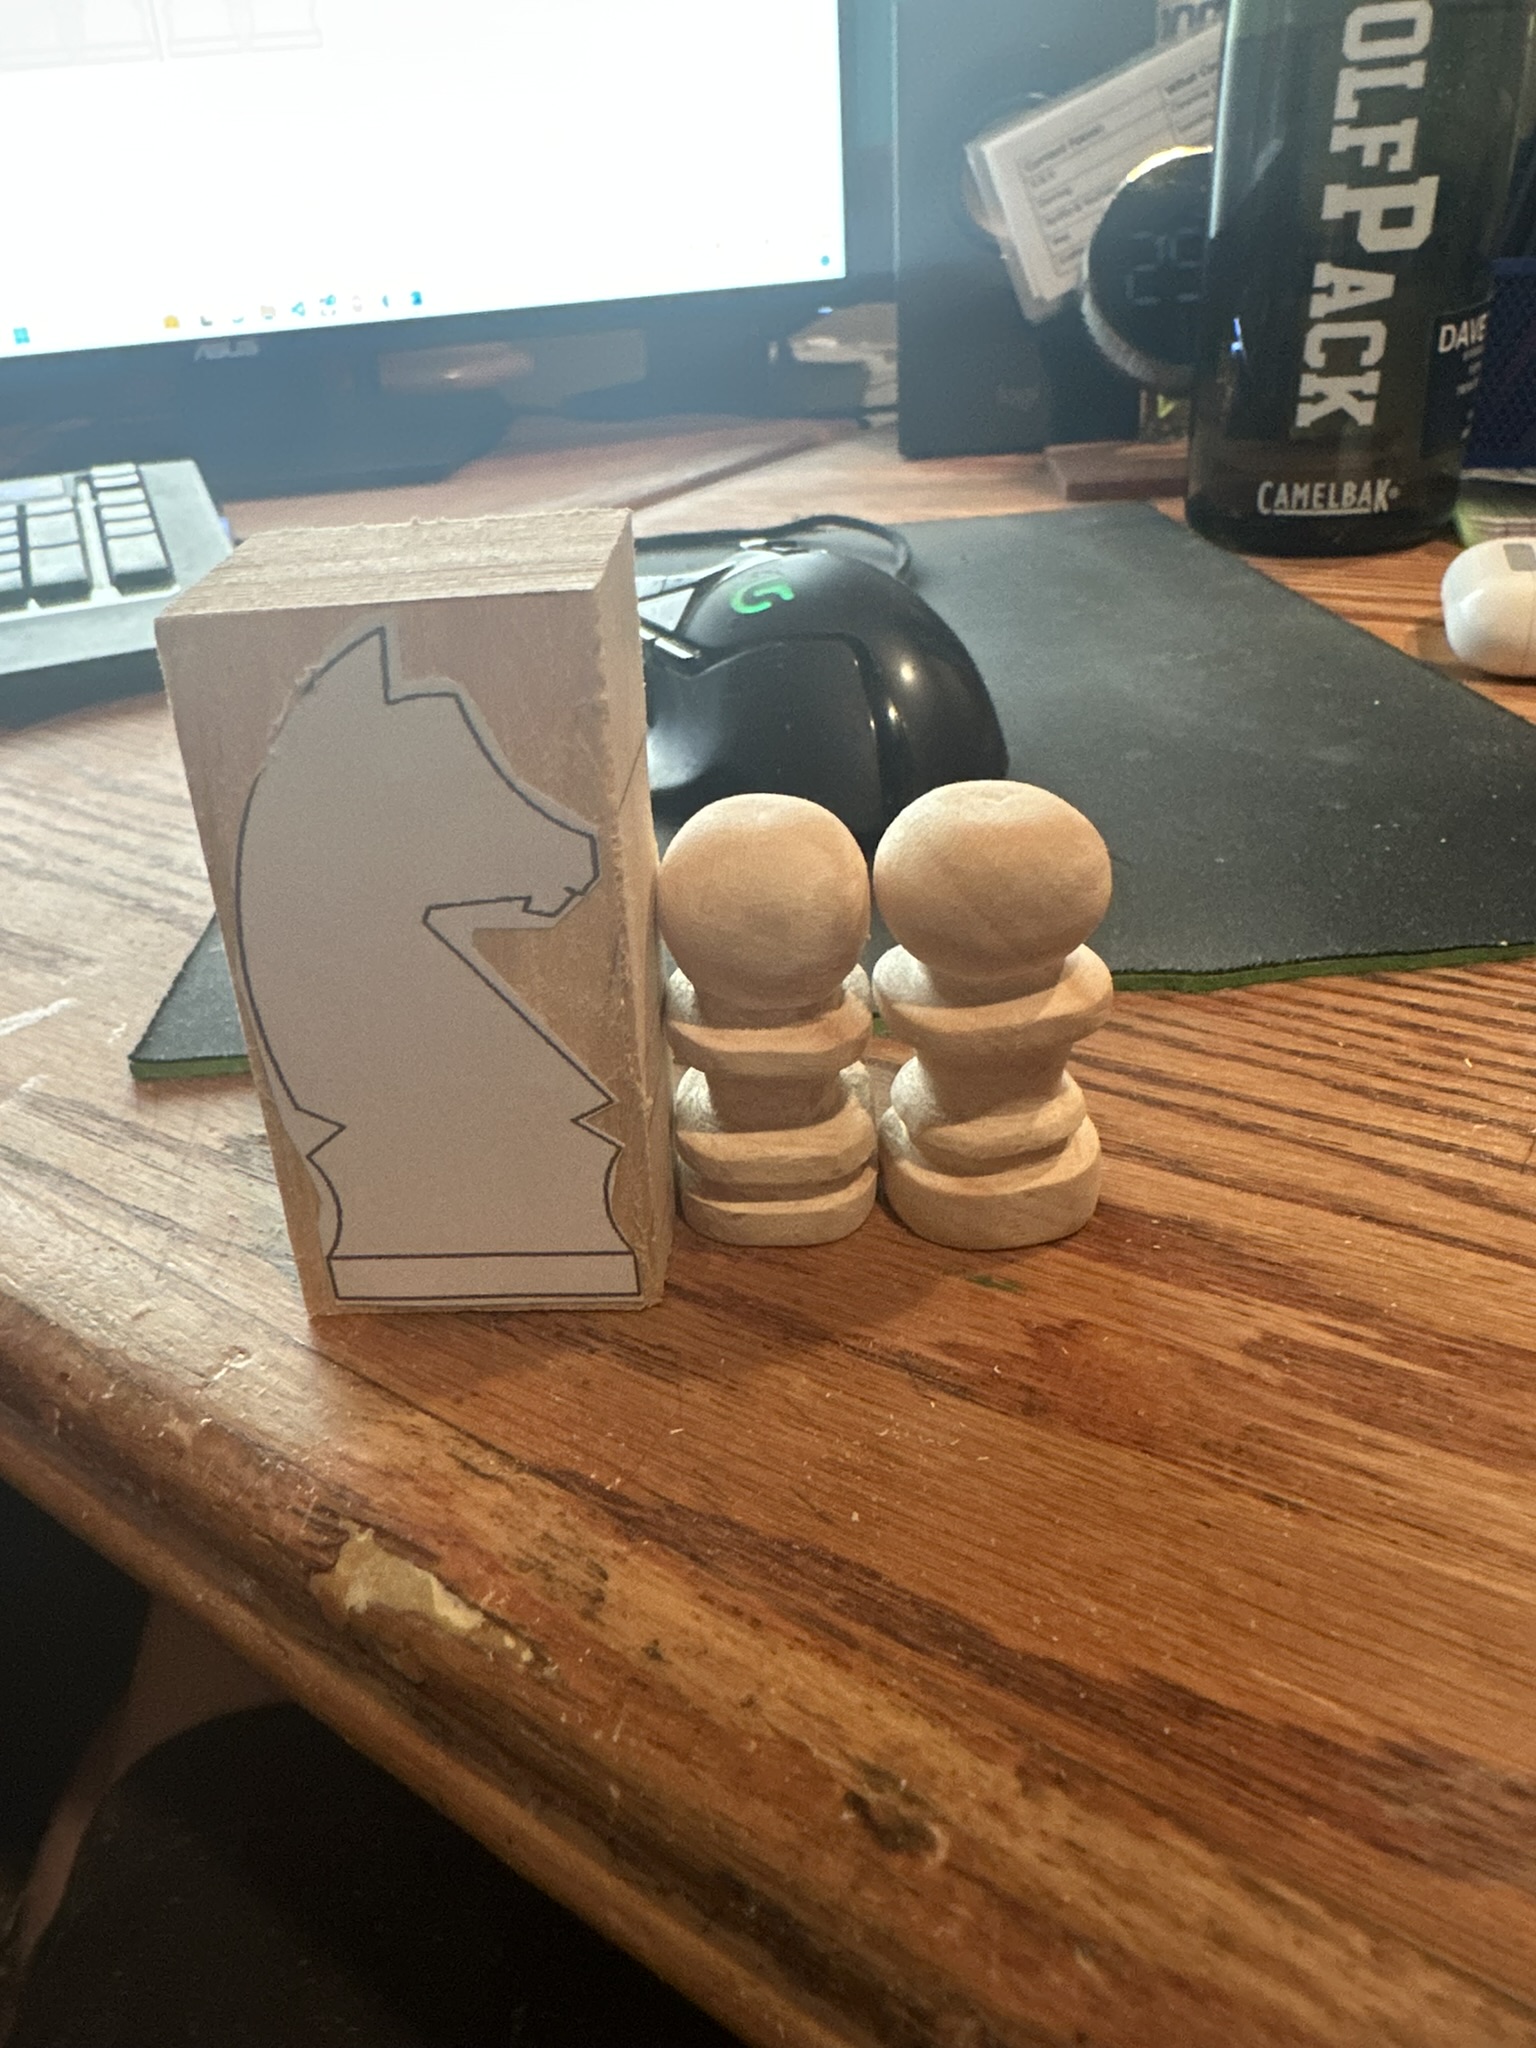
White Team
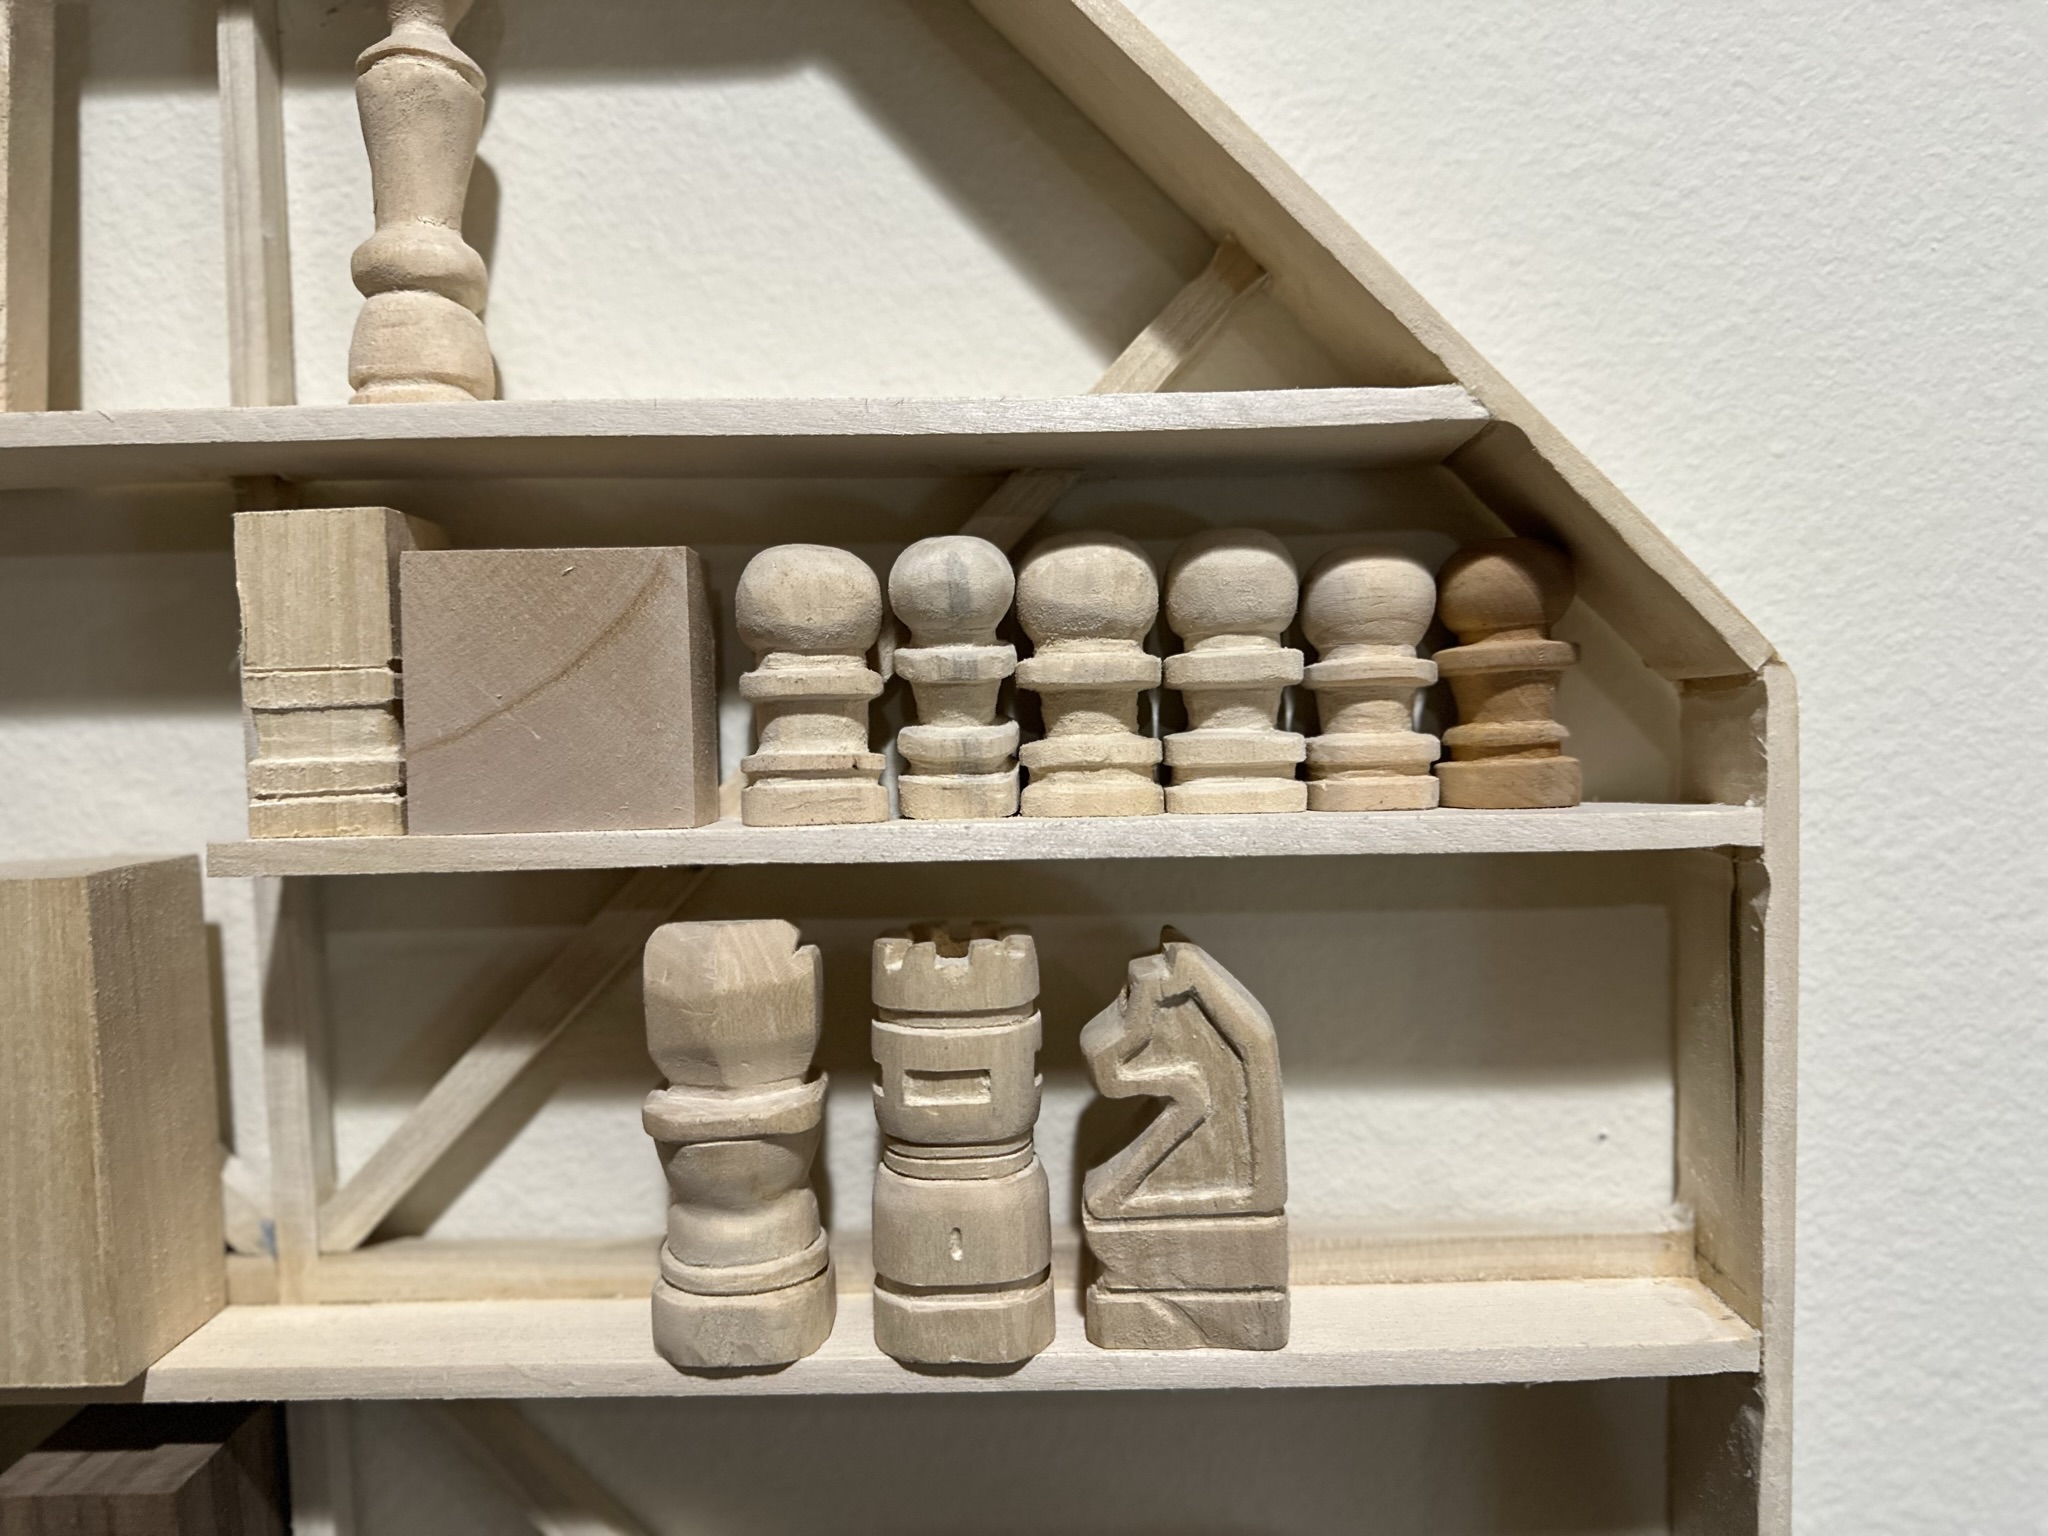
- More than half the pawns are done, and one of each back-row piece is done, the king notwithstanding.
- I’m earnestly surprised how uniform the pawns look. I laminated a template for the regions I need to remove material from so I can mark it before I start working, but I’ve had a few chips break off. Yesterday I had a one of my whittling blades get away from me and it got me in the left index finger pretty bad. No stitches, but it makes opening doors difficult.
- I added some embossing on the back row pieces and I’m 50/50 on whether or not like it. We’ll see how it looks with a few coats of Dutch Oil once the set is sanded and polished.
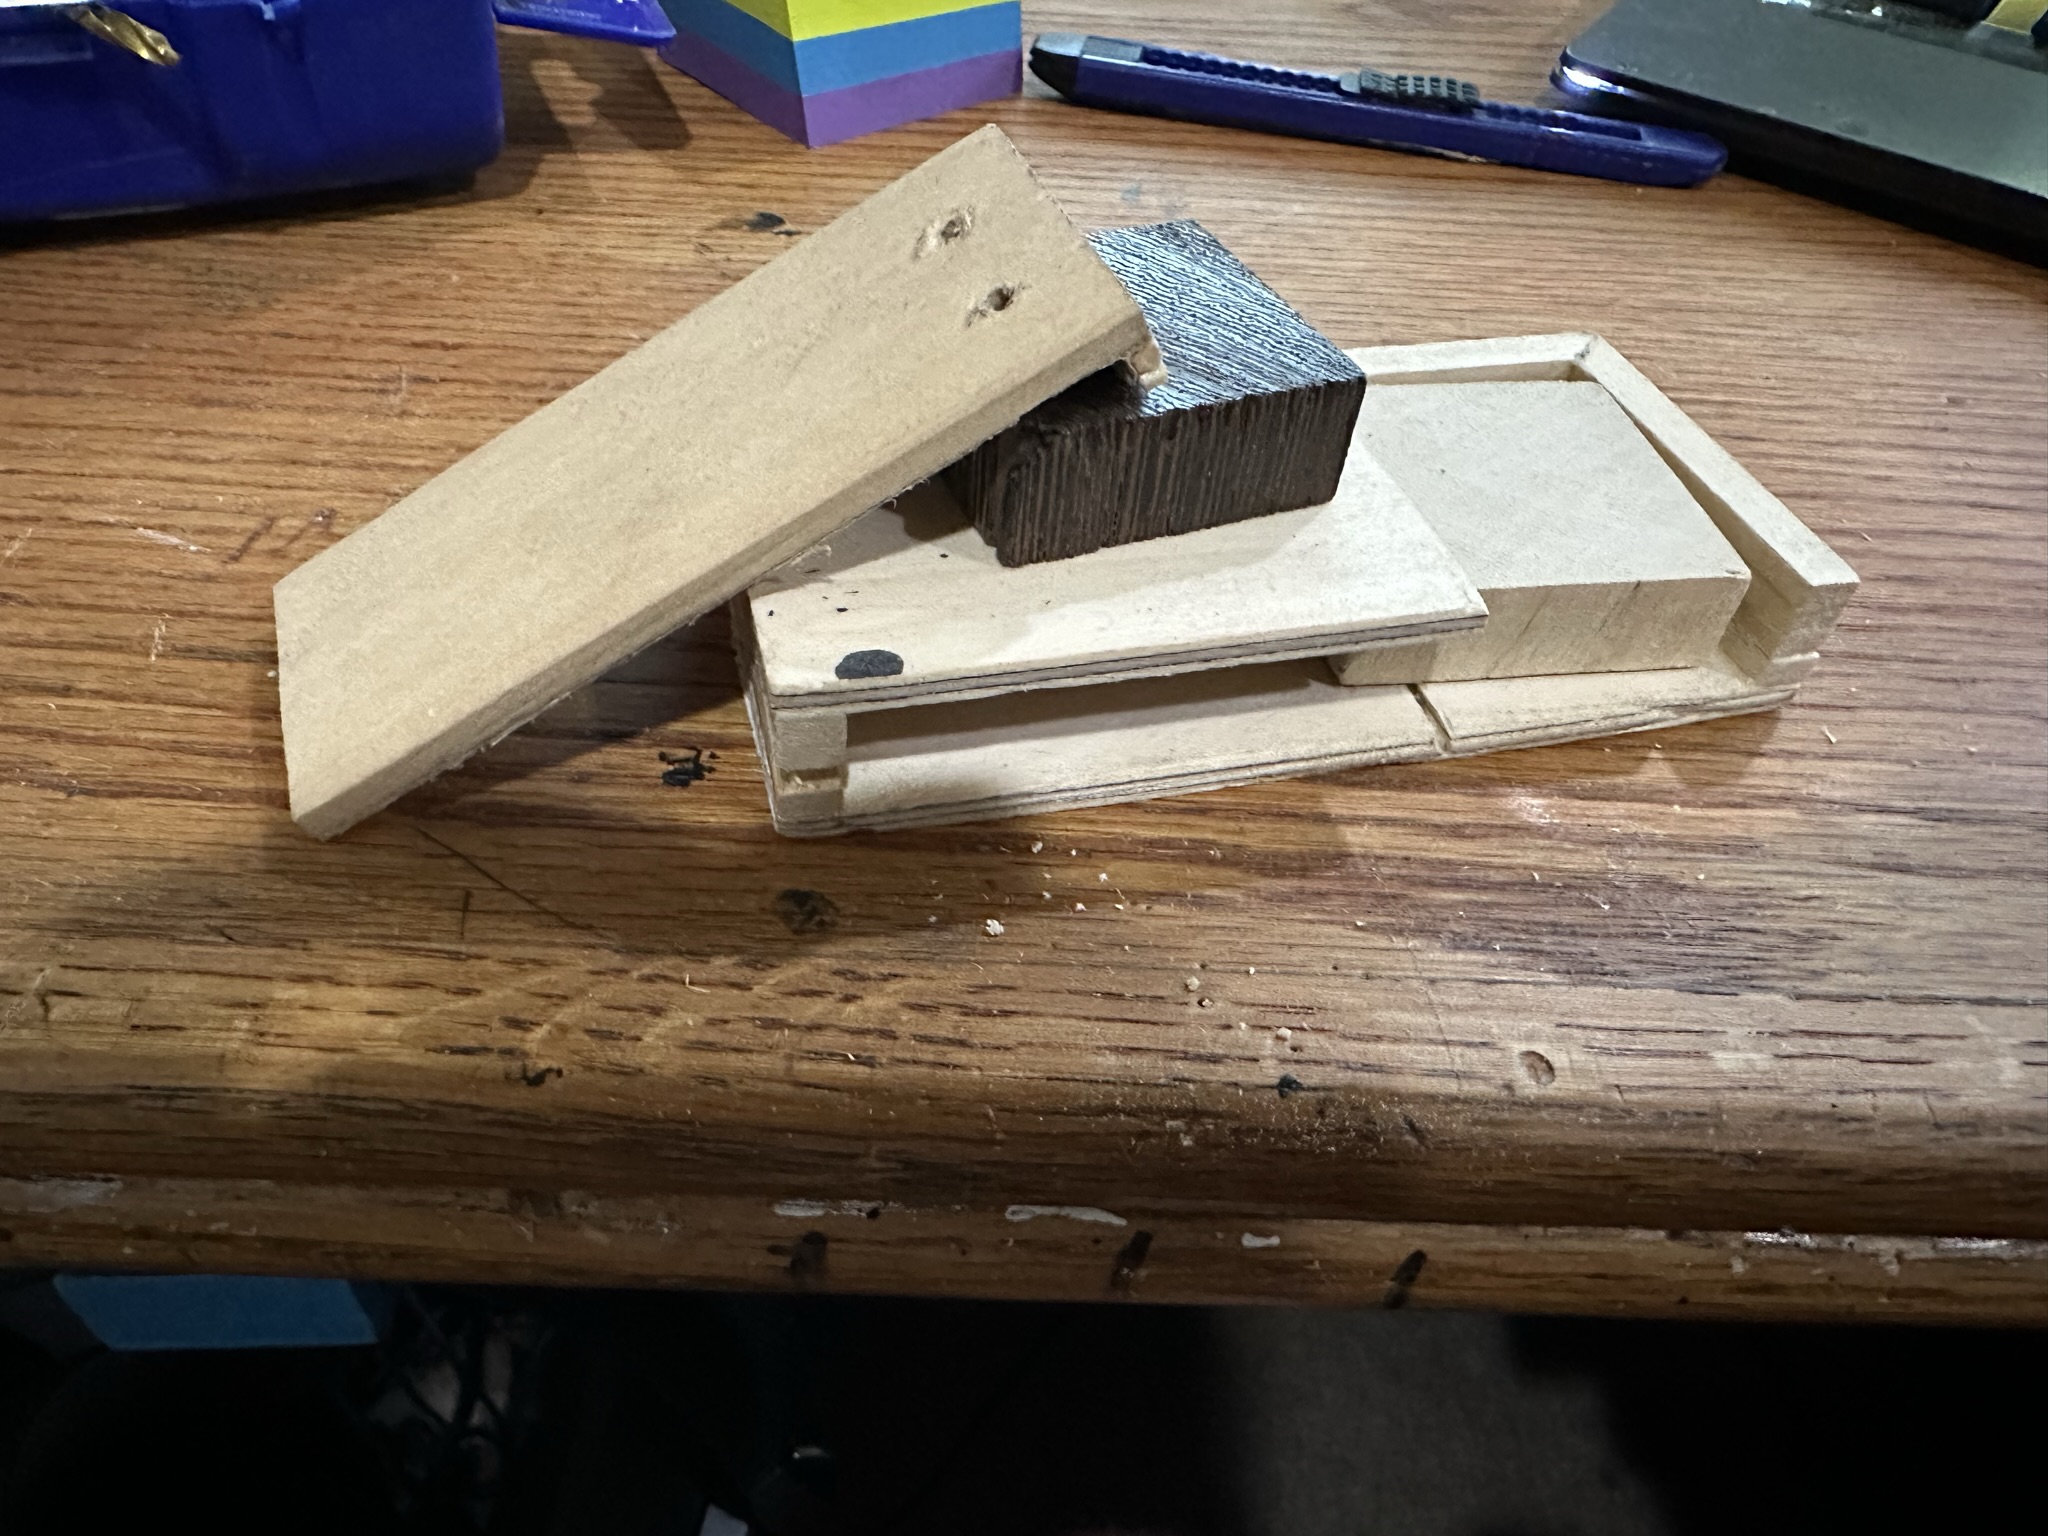
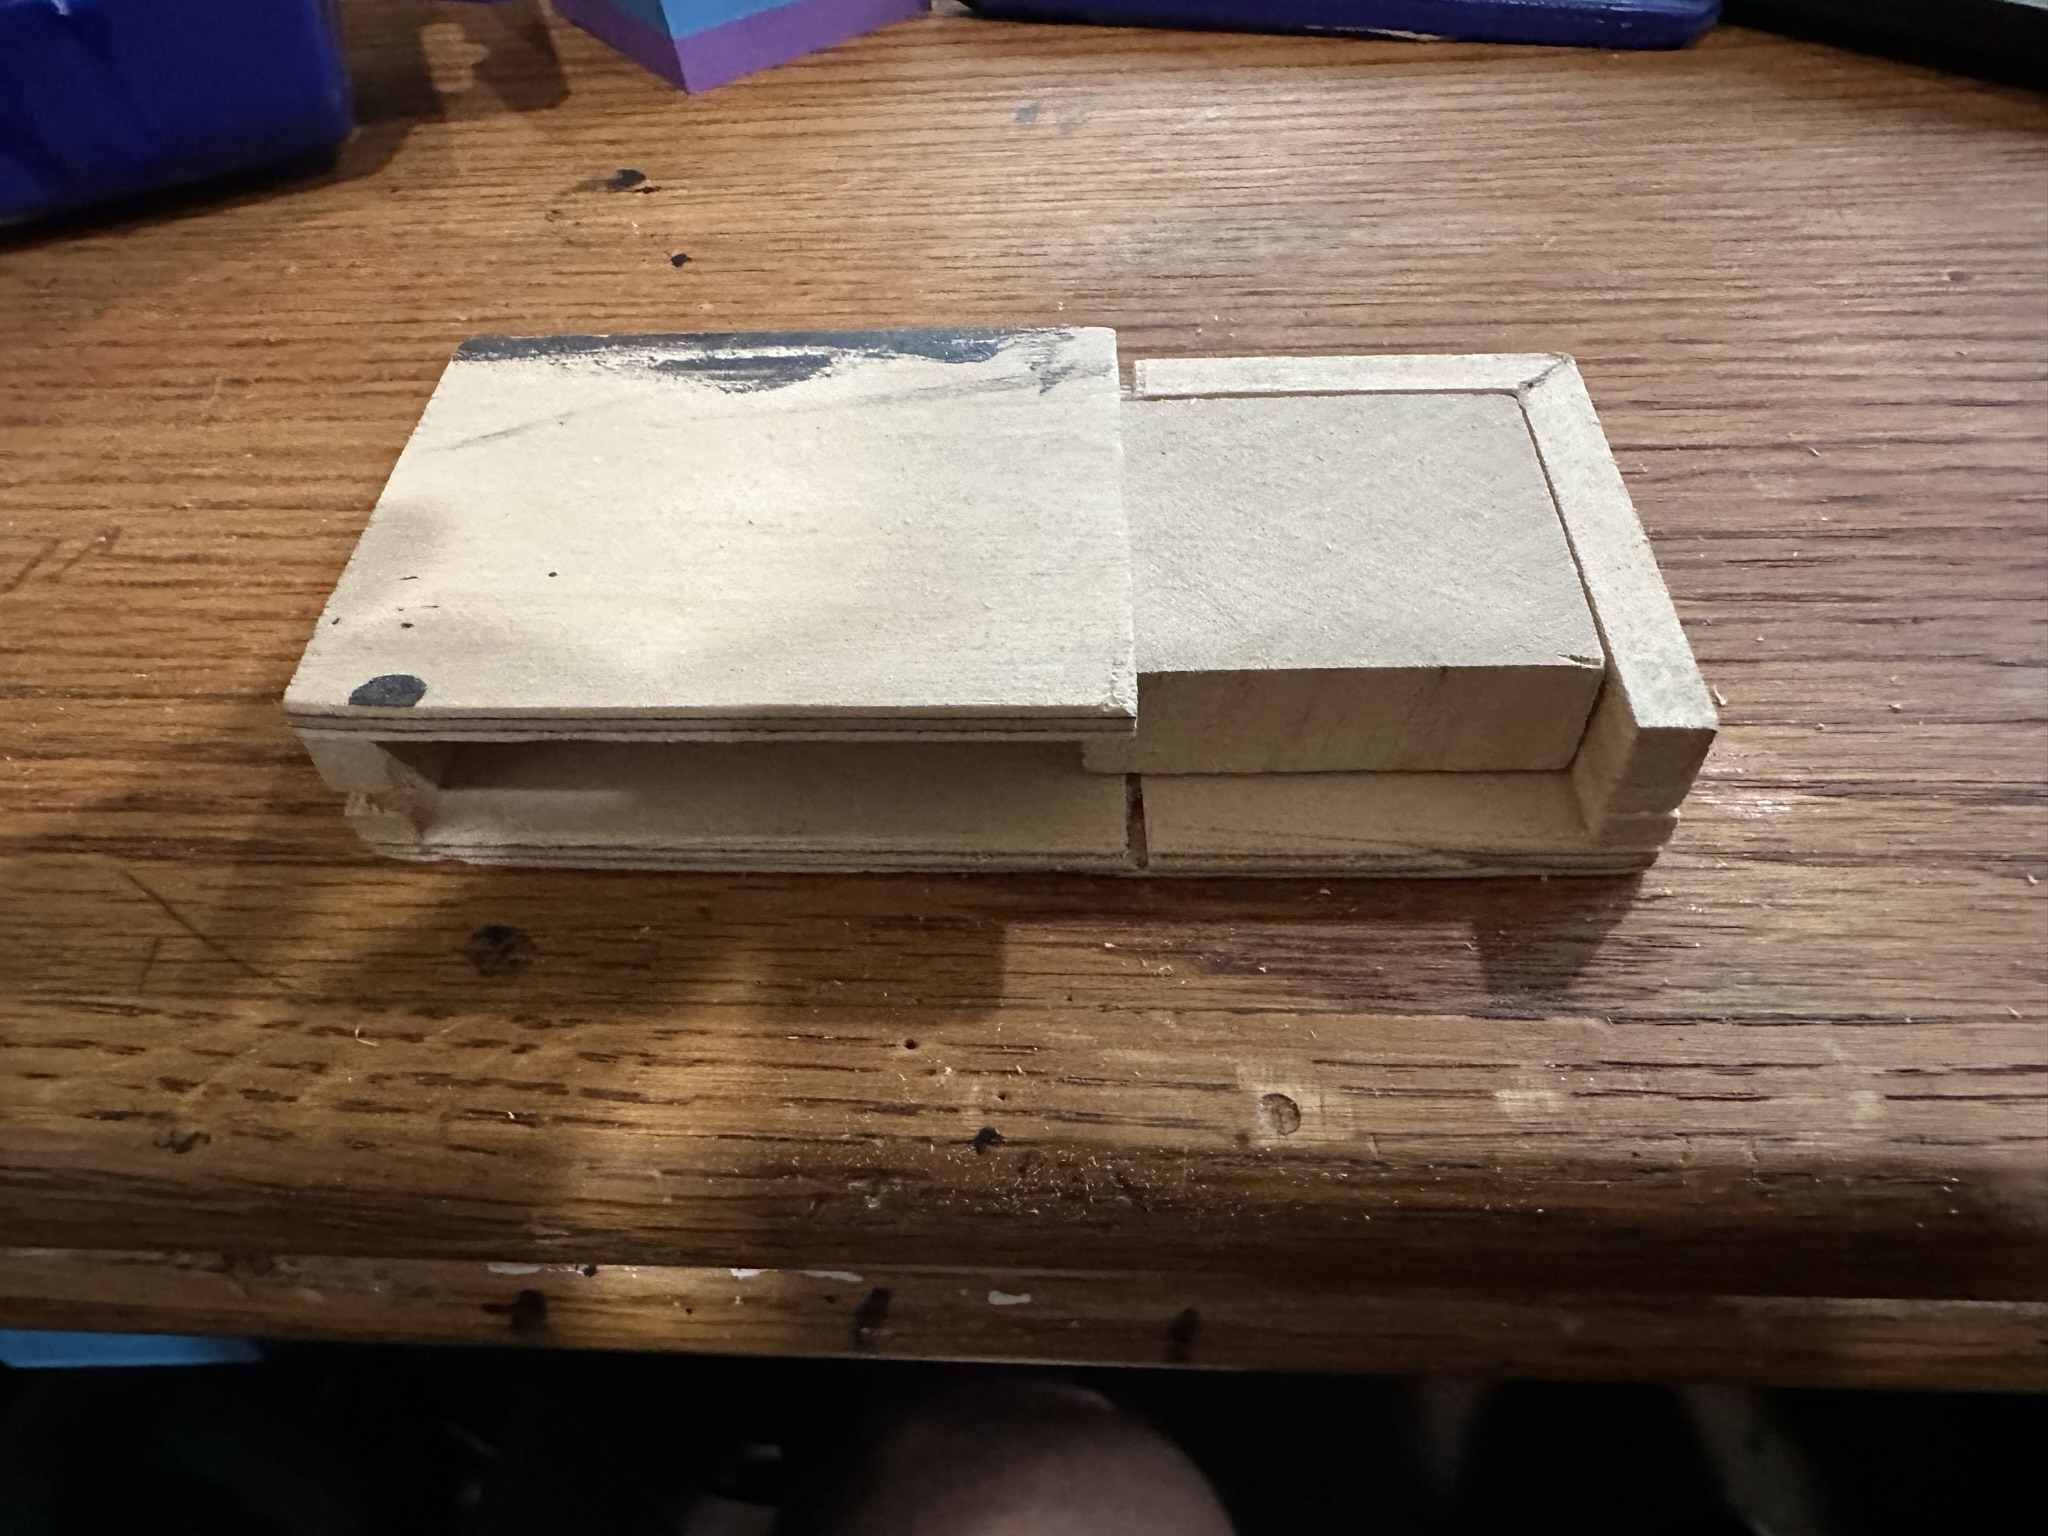
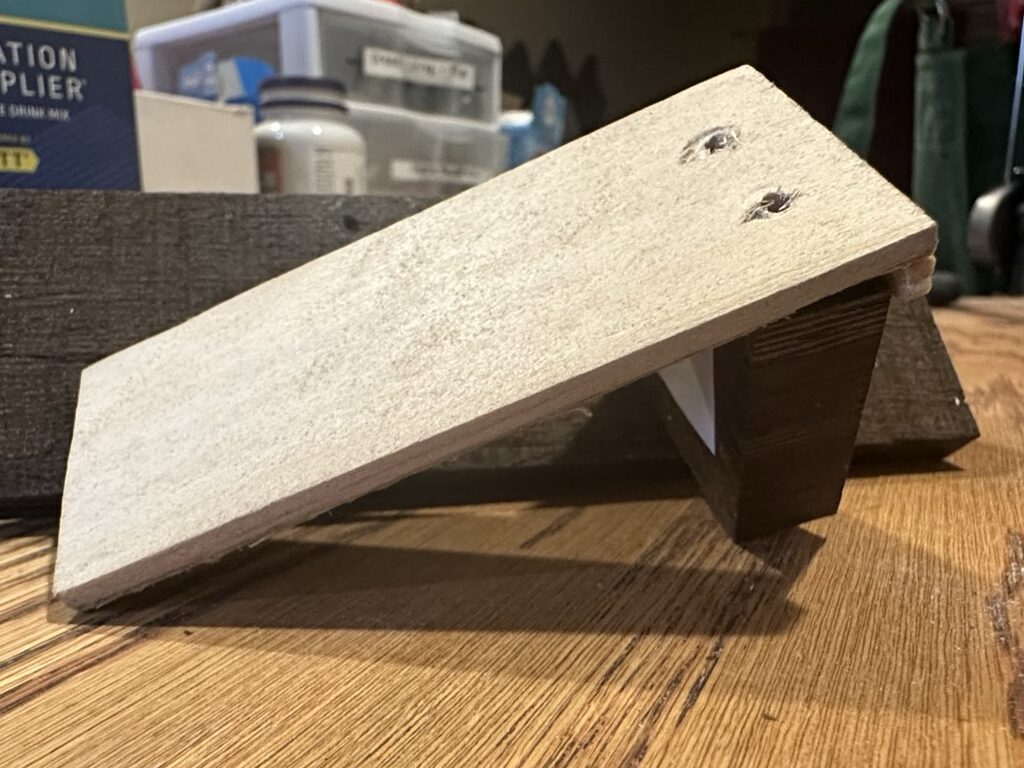
Need a tool? Make a tool!
“Need a tool, make a tool” is the kind of attitude I’ve been trying to shift into lately, which I’ve co-opted from Youtube Creator Alec Steele. He’s a metalsmith and might have a good deal more claim to the phrase, but there’s some wisdom to be had there outside crafting swords and shelving units.

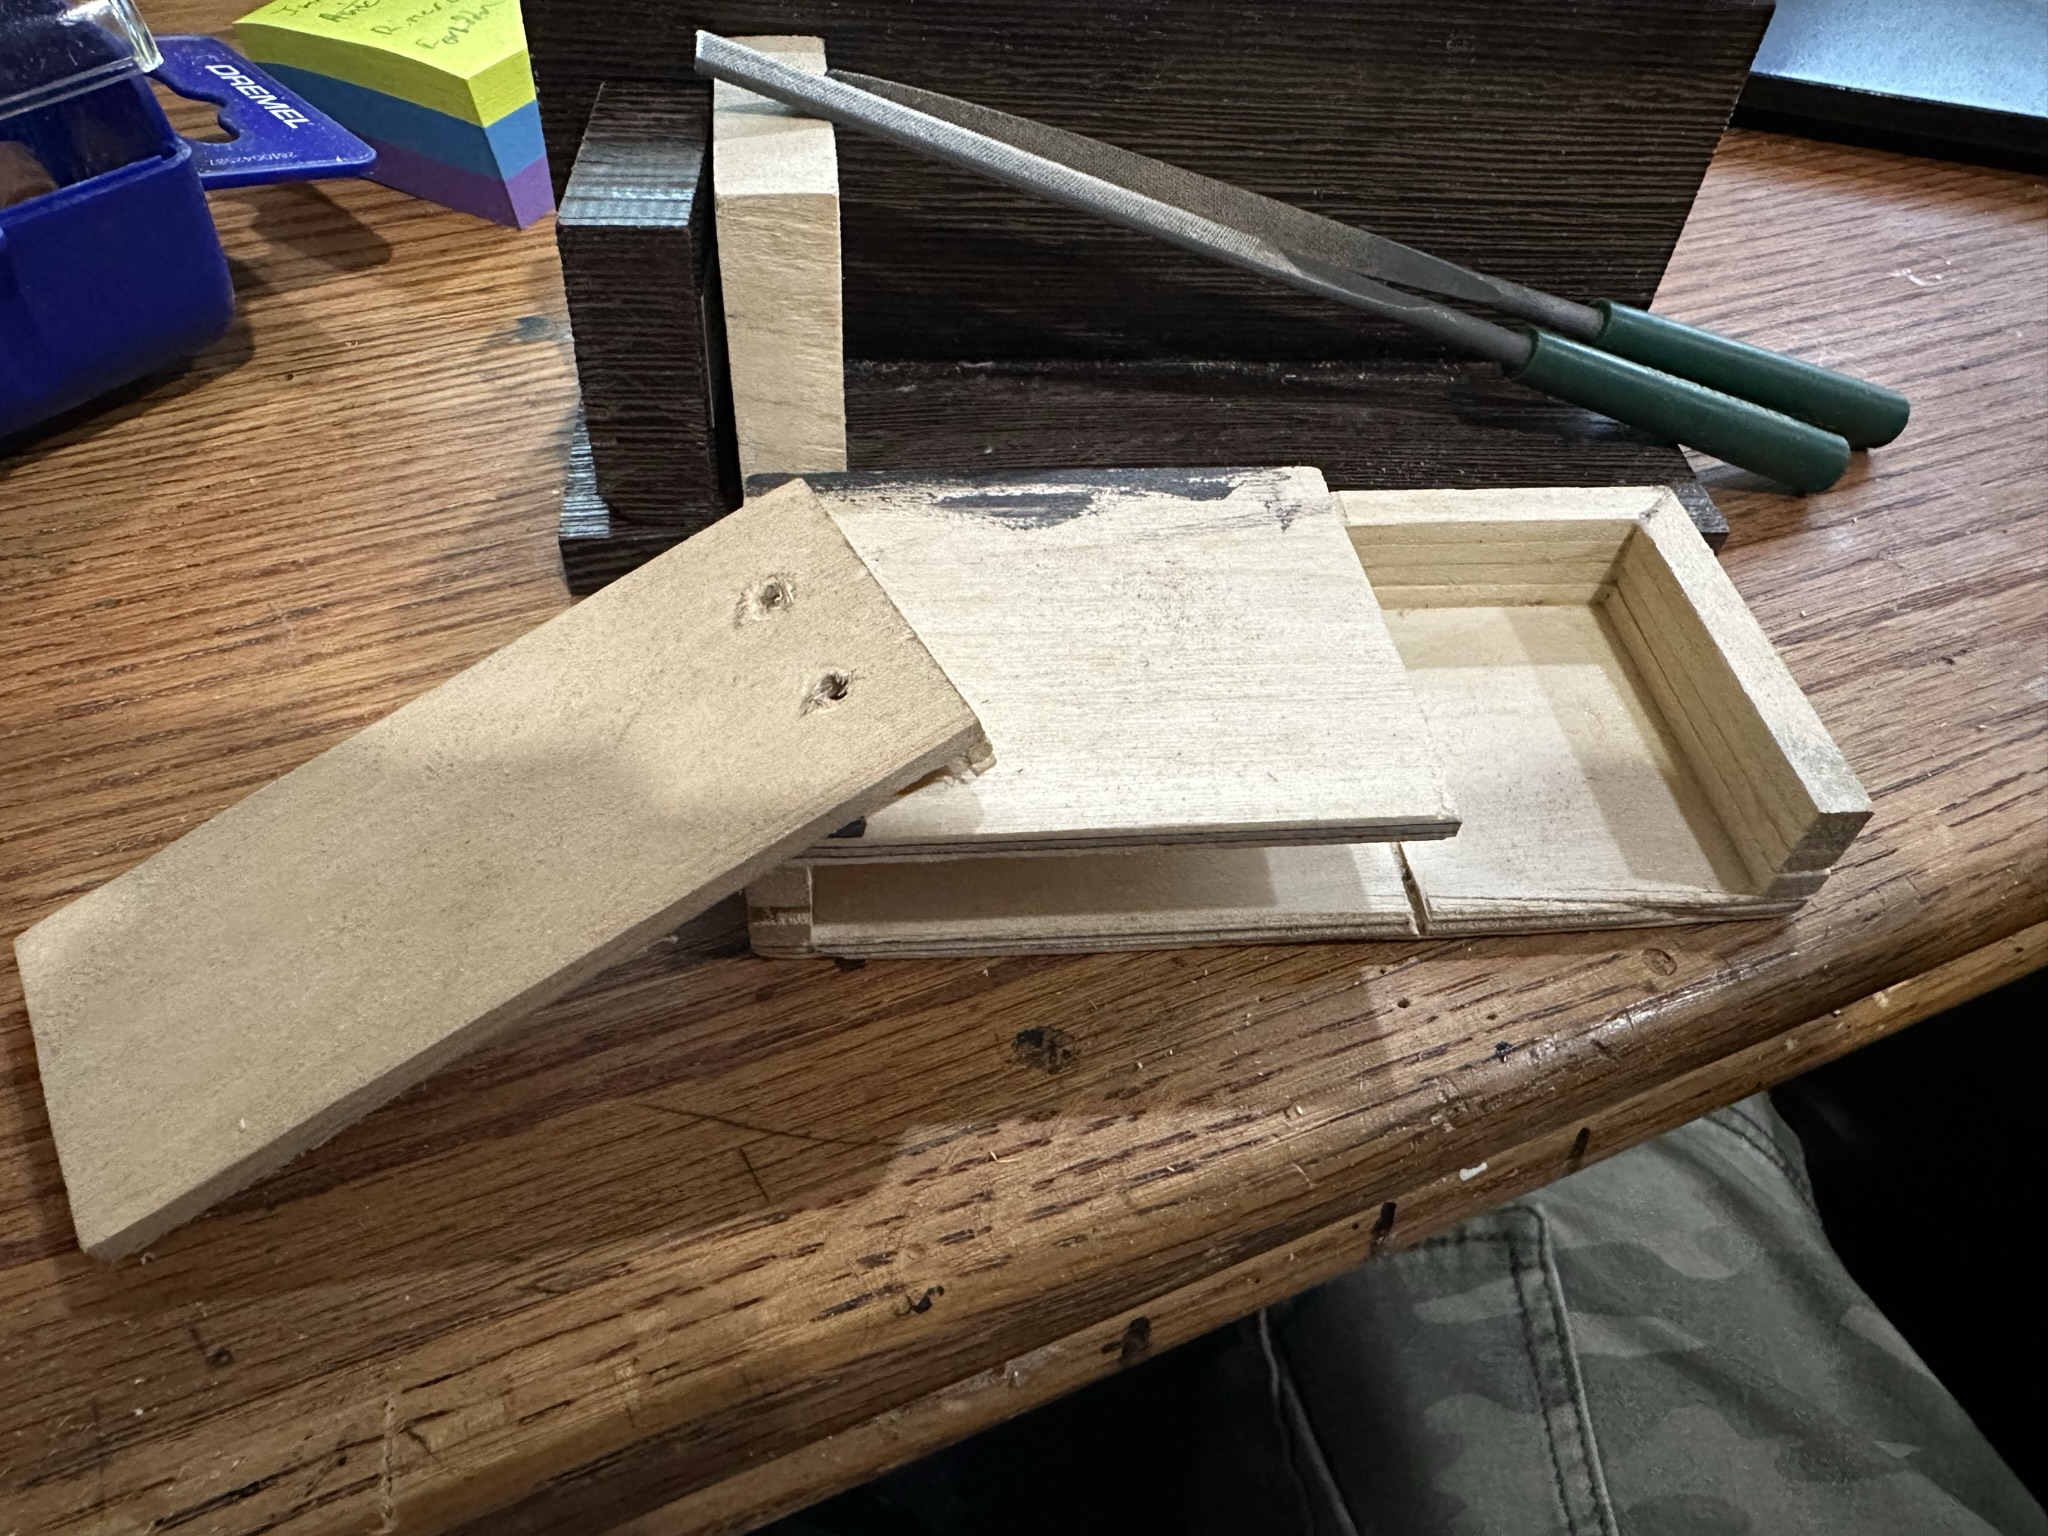
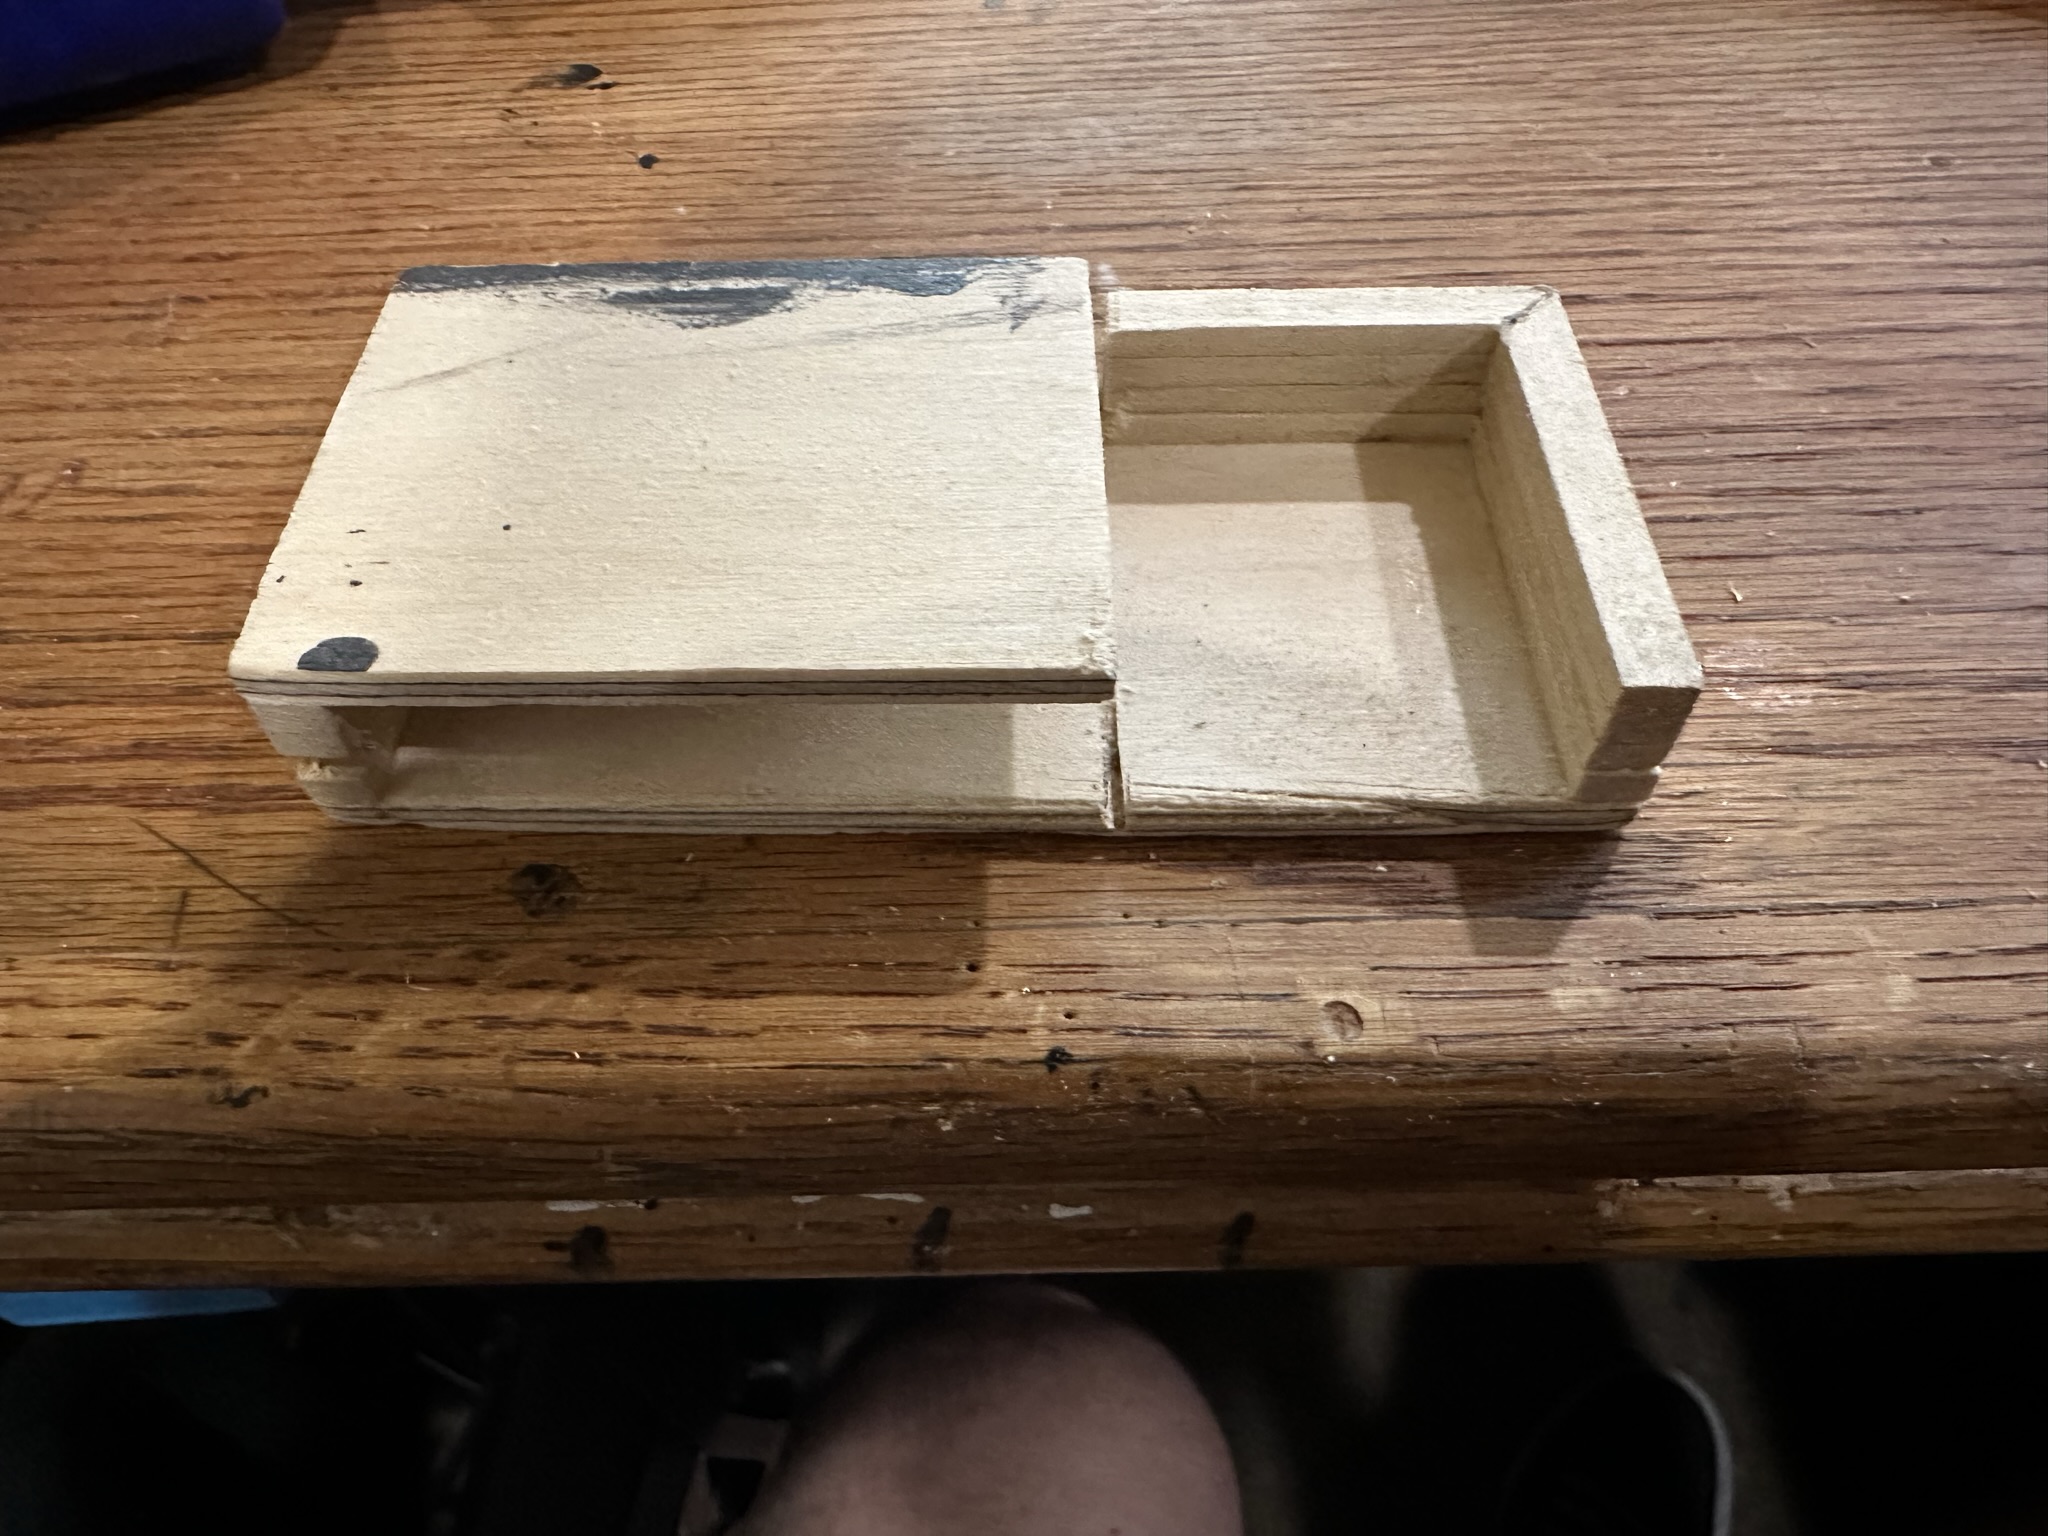
Staying on topic, I found that once pieces are cut to 1/2″ slices, they’re difficult to hold while in a miter box to cut to 1.5″ x 1.5″. Rather than skew my cuts or end up sanding all day, I made a 3/4 enclosed jig to hold the slice in place and guide the blade to 1.5″ exactly.
I also made a L-shaped jig with pilot holes for drilling pinholes in the sides of the board pieces. Measuring them consistently is difficult and I don’t have a drill press, so I can’t make a jig that holds them in an exact position. The hook of the L captures the piece and I chiseled out a little of the stem so they slot in exactly, or are the wrong size and need to be planed to size.
To Wrap Things up, below is all the photos I have for this weeks work on this project. Some are featured above, but I grabbed all the photos off my phone from the week on this project, check it out!